
You've probably stood in front of your Whirlpool dishwasher in bewilderment when you discovered it's not filling with water. It's a frustrating problem that stops your entire cleaning routine in its tracks and can lead to wasted time and potential mess. Most fill issues stem from a handful of predictable causes ranging from simple supply blockages to more complex component failures.
Manufacturer specifications indicate that proper dishwasher operation requires a consistent water inlet pressure between 20 and 120 PSI. When that flow is interrupted the machine's sensors detect an issue and halt the cycle to prevent damage. Before you call a repair technician understanding how to systematically diagnose the source can save you both time and money.
Let's walk through the most effective way to get your appliance running smoothly again.
Your Whirlpool Dishwasher Won't Fill: The Quick Check Before You Panic
What to Verify First (Five Minutes, No Tools Needed)
Before we dive into electrical testing or part replacements you need to rule out the simplest possibilities. Many "broken" appliances are actually just experiencing basic utility interruptions. Start by ensuring the water supply valve under your sink is fully open.
A partially closed valve restricts flow enough to prevent the tub from filling properly.
Next check that your dishwasher is actually receiving power. If the unit has a faulty door latch it won't start the fill cycle at all. Try opening and closing the door firmly until you hear a solid click.
Also inspect the circuit breaker or GFCI outlet to make sure it hasn't tripped. These five-minute checks resolve a surprising number of service calls.
Common "Duh" Issues That Account for Half the Calls
Sometimes the problem is even more straightforward than a tripped breaker. Inspect your household water pressure by running a glass from the nearest cold water tap. If that stream is weak the issue might be a broader plumbing problem affecting your entire home.
A single low-pressure appliance rarely fails on its own without other signs.
Another common oversight is a kinked or crushed supply line. If your dishwasher was recently moved or the cabinet was reorganized the flexible hose connecting the unit to the home plumbing might be pinched. Trace the line behind the machine to ensure it isn't bent sharply.
Clearing these basic physical obstructions is always the best place to start.
Follow This Decision Path—It Depends on What You're Actually Seeing
No Water At All vs. Slow Fill vs. Intermittent Filling
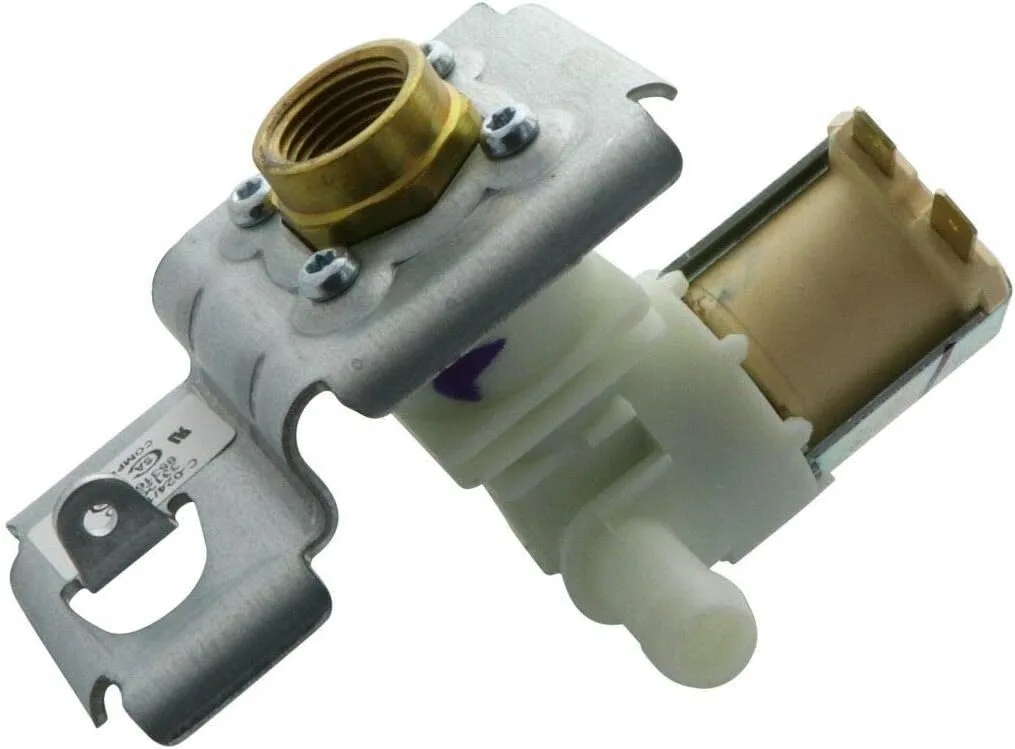
How your dishwasher behaves tells you exactly where to look. If there is absolutely no water entering the tub the problem likely lies with the water supply the inlet valve or the main control board. A completely silent unit points toward an electrical issue or a failed valve solenoid.
You need to determine if the machine is simply ignoring the command to fill.
If the water is trickling in very slowly sediment buildup is the most probable cause. Hard water minerals clog the tiny mesh screens inside the inlet valve or restrict the supply line over time. This partial blockage allows some water through but not enough to complete a cycle efficiently.
Intermittent filling is a different beast entirely. The machine might work perfectly one day and fail the next which often points to a failing component that is becoming loose or a float switch that is sticking sporadically.
Listening for the Hum: What the Inlet Valve Should Sound Like
When you start a fill cycle you should hear a distinct hum coming from the lower front corner of the dishwasher. That sound is the inlet valve solenoid energizing and opening to let water in. If you hear that hum but no water flows the valve is working but something is physically blocking the path.
Check the supply line and the valve screen first.
Silence is just as telling as noise. If you hear nothing when the cycle should be filling the valve isn't getting power. This could mean the control board isn't sending the signal the door switch isn't triggering the board or the valve's internal coil has burned out.
You'll need to use a multimeter to test for voltage at the valve terminals to distinguish between a power delivery failure and a mechanical valve failure.
Decoding Error Codes (5-1, 2-1, and Others)
Modern Whirlpool dishwashers have self-diagnostic features that flash specific error codes when they detect a problem. The classic "5-1" code usually indicates a heating issue but if your machine cycles between codes or displays them during the fill phase pay close attention. A "2-1" code often relates to water supply or drain issues.
These codes are your first clue that the computer has detected an abnormal condition.
You can trigger the diagnostic mode on many models by performing a specific button sequence like closing the door and pressing a combination of keys. Once in the menu you can scroll through past and current faults. This step saves you from guessing what might be wrong.
Use the Whirlpool official service documentation to cross-reference your exact model number with the displayed codes. Accurate diagnosis starts with listening to what the machine is telling you.
The Top Three Culprits (and How to Fix Each One)
Clogged Inlet Valve Screen—The #1 Offender in Hard Water Areas
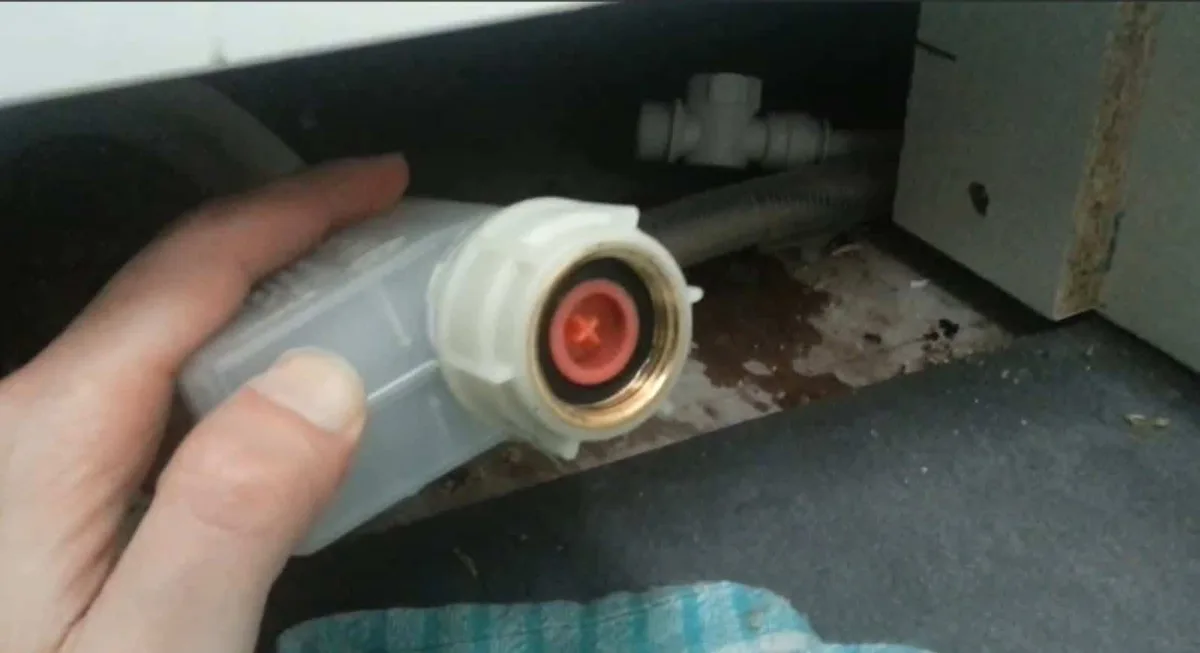
This is the most frequent cause of slow or incomplete filling in homes with hard water. The inlet valve has a tiny mesh screen right where the water enters the valve body. Over time sediment rust and mineral deposits accumulate on this screen acting like a filter that strangles your water pressure.
This is especially common if you live in an area with high mineral content in the municipal supply.
To fix this shut off the water supply and disconnect the inlet line from the back of the dishwasher. Once the line is removed look inside the valve port to see the screen. You can gently remove it with needle-nose pliers and clean it with vinegar or a small wire brush.
If the screen is shredded or heavily corroded replace the entire inlet valve assembly. This simple maintenance task takes about ten minutes and restores full flow immediately.
Stuck Float Switch—Food Debris and Grease Buildup
The float switch is a critical safety device located at the bottom of the dishwasher tub. It rises as the water level increases and tells the control board when to stop filling. If food particles grease or soap scum accumulate around the float mechanism it can become physically stuck in the up position.
When the switch thinks the tub is already full it prevents any new water from entering leaving you with a dry dirty load of dishes.
Inspect the underside of the tub to locate the float assembly. It usually looks like a small plastic dome or cylinder. Try moving it up and down by hand to ensure it slides freely.
If it feels gritty or resistant clean the area thoroughly with a soft brush and warm soapy water. Removing debris from around the seal is often enough to free the mechanism. Always make sure the dishwasher is powered down before reaching inside the tub.
Failed Drain Check Valve—Backflow Trickng the System
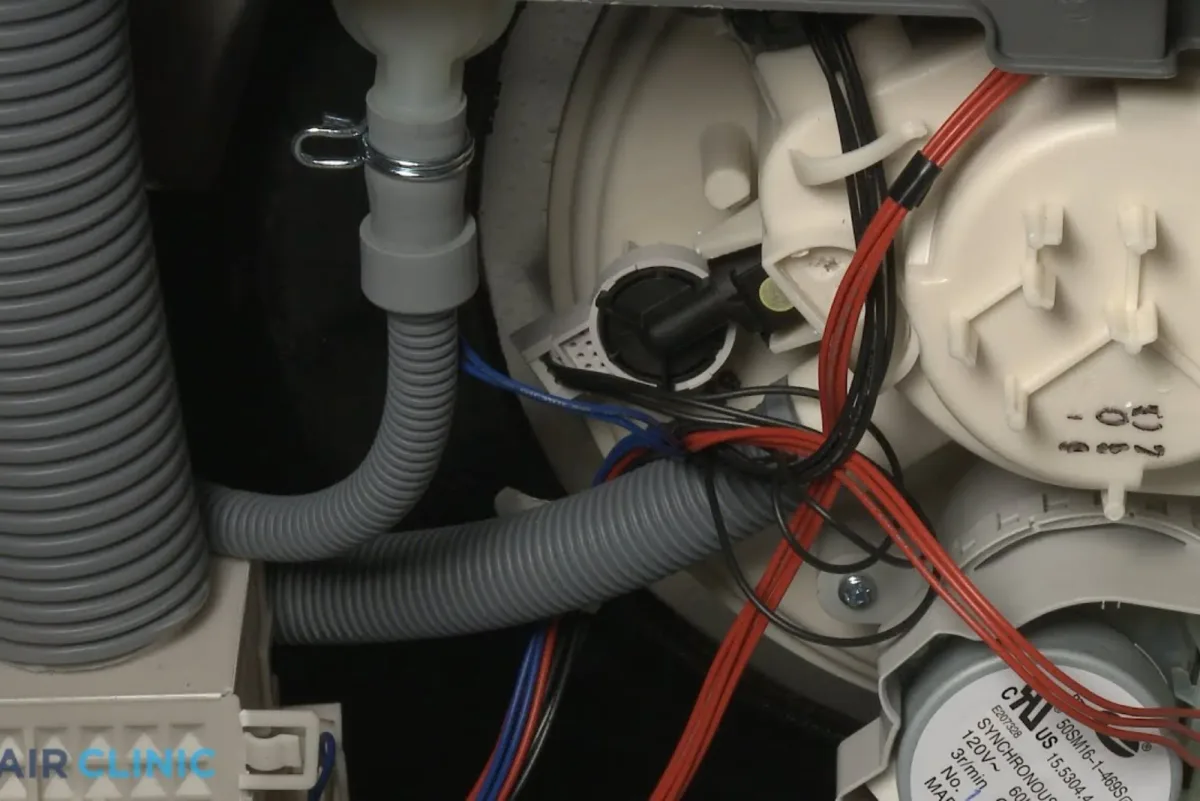
Some Whirlpool models feature a drain check valve designed to prevent water from flowing back out of the drain hose. If this valve fails open water can siphon out of the tub as fast as it tries to fill in. The machine may fill partway and then stop or it might seem to drain continuously while trying to fill.
This backflow creates a confusing situation that mimics a lack of water supply.
You can test for this by running a simple visual inspection of the drain line. Ensure the air gap or garbage disposal connection isn't creating a siphon effect. If the plumbing is correct but the problem persists the internal check valve inside the dishwasher might be compromised.
While less common than screen clogs or float issues a failed check valve requires disassembling the drain pump area to inspect the internal flapper or valve seat.
Mistakes That Make Things Worse—Don't Do These
Bypassing the High-Limit Float (Seriously, Don't)
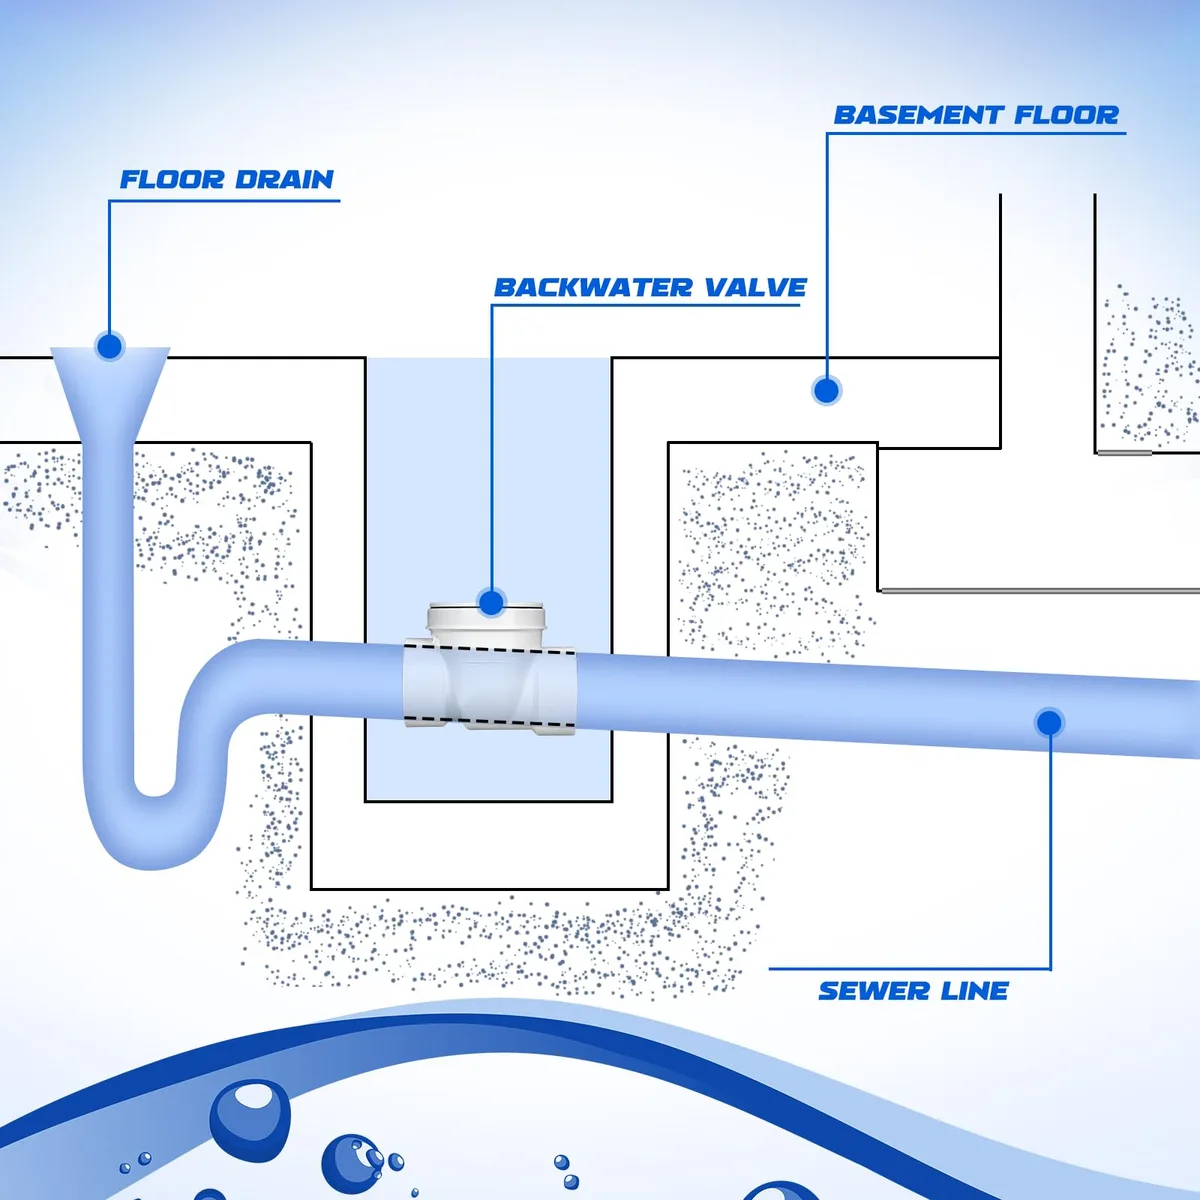
The high-limit float is a secondary safety device that prevents the dishwasher from overflowing if the primary fill control fails. Tempting as it might be to simply ignore or bypass this switch to force a fill cycle doing so is dangerous. If the valve gets stuck open due to a mechanical failure water will continue to pour into the tub unchecked.
This can lead to significant water damage in your kitchen cabinets and floors within minutes.
Never jumper the electrical terminals of the high-limit float to make the machine run. The cost of a replacement float switch is minimal compared to the potential for thousands of dollars in water damage remediation. Safety interlocks exist for a reason and bypassing them voids any remaining warranty while creating a serious hazard.
Always replace faulty safety components rather than working around them.
Ignoring a Leaking Supply Line Connection
When you disconnect the water line to check the inlet valve it's easy to forget to replace the rubber washers inside the compression fittings. Reusing old flattened washers often leads to slow leaks at the connection point. These leaks can go unnoticed for weeks causing rot in your cabinetry and creating a mold problem.
A small drip might seem insignificant but it compounds over time.
Always install new rubber washers when reconnecting your supply line even if the old ones look okay. Hand-tighten the connection first then give it a quarter to half turn with a wrench. Over-tightening can crack the plastic fitting or crush the washer causing a worse leak.
After reconnection run a test cycle and closely inspect the area for any moisture. Proper sealing is a small step that prevents massive headaches later.
Replacing the Wrong Part Because You Skipped Diagnostics
It's very easy to order a new inlet valve because the online part number matches your model. However if you don't verify that the old valve is actually electrically dead you might be throwing money away. A common mistake is replacing a good part while the real problem remains an electrical issue upstream like a bad wire or a faulty control board.
You could end up with a brand new valve that still doesn't open.
Use a multimeter to test the resistance of the valve solenoid before you remove it. A reading of infinite resistance (open loop) confirms the valve is bad. A reading within the manufacturer's specified range means the valve is likely fine and you should look elsewhere for the fault.
Taking the time to test components ensures you fix the actual problem. This approach saves you from repeatedly buying parts that don't solve the issue.
When to Stop DIY and Call a Pro (and What It’ll Cost)
Electrical Hazards You Can’t Risk
Working inside a dishwasher involves exposure to 120-volt AC power which can be lethal if handled incorrectly. If you are not comfortable using a multimeter to test for voltage at the inlet valve or the main control board you should stop and call a professional. Tampering with high-voltage connections without proper knowledge creates a serious risk of severe electric shock.
Additionally accessing the control board often requires removing the inner door panel which can expose delicate wiring harnesses. One mistaken pull can damage a connector beyond repair leading to more complex and expensive issues. If your diagnosis points to a control board failure the complexity of the repair usually warrants professional service.
The risk isn't worth the potential savings if you aren't an experienced technician.
Control Board Failure Signs
The main control board is the brain of your dishwasher. If it fails to send the proper signal to the inlet valve the machine simply won't fill. Symptoms often include unresponsive buttons displays that flicker or cycles that start and stop randomly.
Before condemning the board ensure all connections are tight and there are no visible signs of burn marks or swollen capacitors.
Replacing a control board is a significant investment typically ranging from $150 to $400 for the part alone. Professional labor can add another hour or two to the bill. If your unit is older than ten years the cost of a new board might approach the value of the appliance.
In such cases a professional assessment can help you decide whether a repair is financially sensible or if replacement is the better option.
Typical Repair Costs vs. DIY Savings
Professional repair visits usually start with a service call fee which can range from $75 to $150 just for the technician to show up. If they determine the issue is a clogged screen or a stuck float they might charge an hourly rate for the time spent cleaning or adjusting it. For major component replacements like the inlet valve or control board the total bill can easily exceed $300.
By handling the diagnosis and simple fixes yourself you avoid these labor charges entirely. Even if you ultimately need a professional for a complex electrical repair having already identified the problem saves you from being upsold unnecessary services. DIY repairs empower you to understand your home appliances better and can lead to significant long-term savings.
Just know your limits and prioritize safety above all else.
Preventing This from Coming Back
Annual Screen Cleaning Routine
Preventive maintenance is the best way to avoid fill problems recurring. Cleaning the inlet valve screen annually can extend the life of your valve and maintain proper water flow. This simple task takes less than fifteen minutes and requires only basic household tools.
Start by turning off the water supply and disconnecting the inlet line from the back of the dishwasher.
Remove the mesh screen from inside the valve port using needle-nose pliers. Soak it in white vinegar for thirty minutes to dissolve mineral deposits. Rinse thoroughly and reinstall before reconnecting the supply line.
Running a vinegar cycle through the dishwasher monthly also helps prevent internal buildup that can affect performance over time.
Water Pressure Monitoring (and When You Need a Regulator)
Consistent water pressure is essential for proper dishwasher operation. Use a pressure gauge on an outdoor spigot or washing machine connection to test your home's water pressure. Readings below 20 PSI will cause fill issues regardless of appliance condition.
Readings above 80 PSI require a pressure reducing valve to protect all household plumbing.
Installing a regulator is a one-time investment that prevents damage to dishwashers washing machines and pipes throughout your home. Most plumbing codes require regulators for pressures exceeding 80 PSI. If your tests show inconsistent pressure the problem may be with your municipal supply or internal plumbing rather than the dishwasher itself.
Signs Your Supply Line Is Degrading
Flexible supply lines have a limited lifespan typically five to seven years. Inspect yours annually for cracks bulges or corrosion at the fittings. A brittle hose that crumbles when bent is a ticking time bomb for kitchen water damage.
Replace susceptible lines proactively rather than waiting for a failure.
Stainless steel braided lines are a worthwhile upgrade over standard rubber hoses. They resist kinking abrasion and degradation from heat exposure. The small extra cost pays for itself by preventing catastrophic leaks.
Always shut off the water supply before inspecting or replacing any dishwasher plumbing connections.
FAQs
How long does a Whirlpool inlet valve last?
A properly maintained inlet valve typically lasts five to ten years depending on water quality. Hard water areas accelerate wear due to mineral accumulation on the internal screen and components. Running a dishwasher sanitizer cycle monthly helps extend valve life by reducing buildup.
As of 2026 most manufacturers recommend inspecting inlet valves every three to five years in hard water regions.
Can low water pressure really cause this problem?
Yes water pressure below 20 PSI is insufficient to fill most dishwashers properly. The inlet valve requires adequate pressure to open fully and deliver the correct water volume. Installing a booster pump or addressing home plumbing issues resolves pressure-related fill failures permanently.
Is it safe to test the valve with a multimeter myself?
Testing voltage at the inlet valve requires removing panels and accessing live electrical connections. If you lack experience with electrical troubleshooting leave this step to a qualified technician. The risk of shock or damaging the control board outweighs the potential savings.
What's the difference between OEM and aftermarket valves?
OEM (Original Equipment Manufacturer) valves cost more but guarantee exact fit and specification compliance. Aftermarket options are cheaper but may vary in material quality and solenoid ratings. For critical safety components like inlet valves OEM parts are generally the safer choice.
Will cleaning the float switch fix intermittent fill issues?
Regular cleaning prevents most float switch problems but old switches can fail internally over time. If cleaning doesn't restore smooth movement replacement is the only reliable solution. Float switches are inexpensive parts that are straightforward to replace for competent DIYers.
