
So, can you open dishwasher spray arms to clean inside? Sometimes yes, sometimes no. The deciding factor is how your specific wash arm was built.
Some arms pop open with a simple twist. Others are sealed shut at the factory and were never meant to come apart.
That distinction matters more than most people realize. Manufacturer specifications indicate that a wash arm nozzle typically measures between 1.5 mm and 2.5 mm across. That's narrow enough to clog with one seed or a flake of limescale.
A blocked jet hurts cleaning performance long before the arm itself fails.
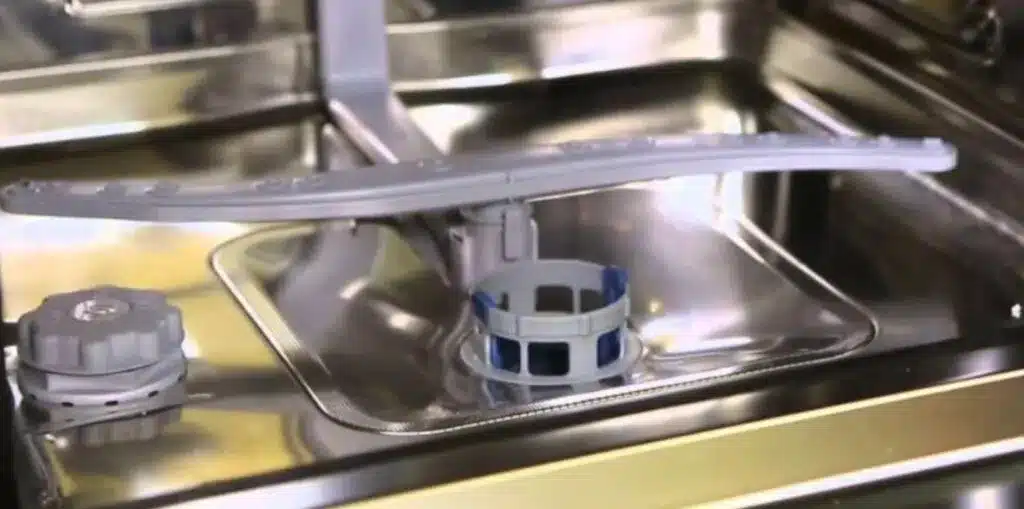
Image source: Web (Bing) / savvyhousekeeping.com (Web image (fair-use with source credit))
Quick Answer
Yes, but only if your spray arm is designed to open. Many models have removable end caps or snap-fit seams. Others are sealed with ultrasonic welds and cannot be opened safely.
Check your manual or parts diagram first. Prying a sealed arm usually cracks the plastic.
How to Identify Your Spray Arm Type Before You Touch Anything
Pull the bottom rack out and look up at the arm. You're checking for three things: an end cap, a visible seam, or a completely smooth molded body.
Look for an End Cap, a Seam, or a Solid Molded Body
A removable end cap is the good news. It's a small plug at the tip of the arm that unscrews or twists off with a quarter turn. Some arms split along a snap-fit seam running the length of the body.
Both designs are serviceable.
A sealed arm has neither. The plastic looks continuous from hub to tip, and the only openings are the nozzles themselves. Manufacturers bond these shut so they can't leak under pressure.
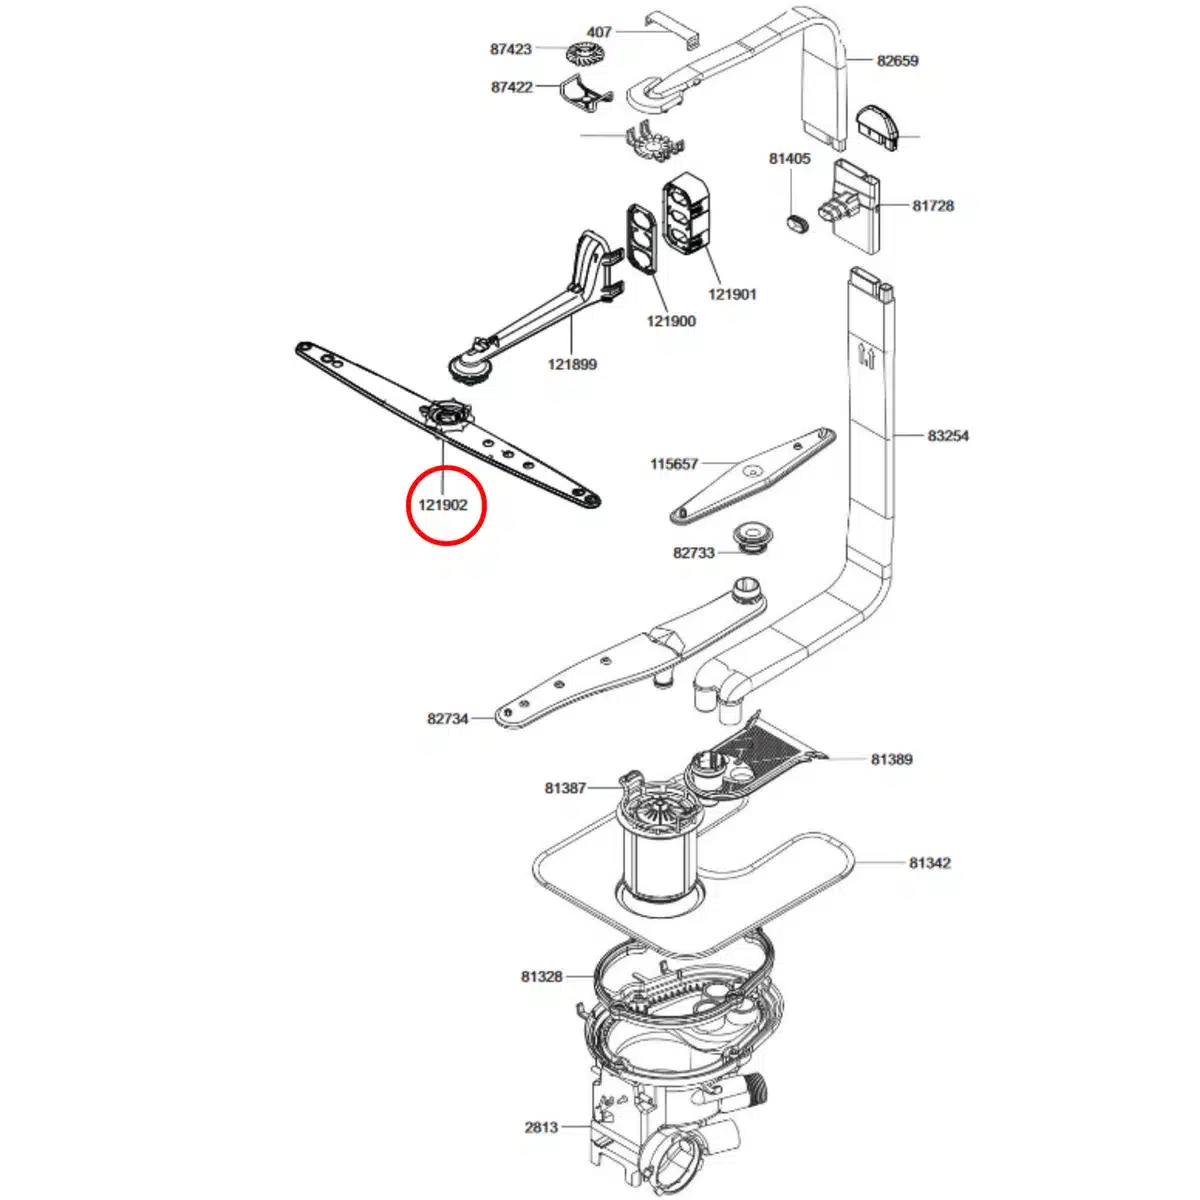
Image source: Web (Bing) / perthappliancespares.com.au (Web image (fair-use with source credit))
Where Your Model Number and Parts Diagram Live
Open the door and check the inner edge of the tub. Most brands put a sticker with the model and serial number there. Bosch and Miele often place it on the side of the door frame instead.
Once you have that number, a parts diagram tells you everything. It shows whether the arm sells as a complete assembly or as separate pieces. If the diagram lists an end cap as its own line item, the arm opens.
Standards like NSF/ANSI 184 also govern how these assemblies perform, which is why manufacturers rarely leave room for improvisation.
What the Hub and Retaining Nut Tell You
The hub is where the arm meets the water feed. A single retaining nut usually holds a lower arm in place, and that nut is removable by design. Upper arms often clip onto a feed tube with release tabs instead.
While you're under there, glance at the filter basket too. A lot of weak-spray complaints trace back to a clogged filter basket rather than the arm itself.
Decision Tree: Open It, Clean It in Place, or Replace It?
Work through these branches in order. The first one that matches your situation is your answer.
Branch 1: You Have a Removable End Cap or Serviceable Seam
If the cap twists off or the seam separates by hand, open it. Soak the halves, flush the jets, and reassemble. This is the only scenario where full internal cleaning is safe.
Branch 2: It's a Sealed One-Piece Arm
If the plastic is continuous with no cap or seam, don't open it. Clean the nozzles from the outside instead. Forcing a sealed arm apart cracks the weld line and creates leaks you can't repair.
Branch 3: The Arm Is Cracked, Warped, or Has Broken Tabs
If you spot cracks, a warped body, or snapped retaining tabs, replacement beats repair. A damaged arm sprays unevenly and can drop onto the heating element.
Branch 4: You Can't Find the Part, Manual, or Diagram
If the model number is worn off and no diagram exists, treat the arm as sealed. Clean in place and budget for a replacement if performance stays poor.
Real Scenarios: Hard Water, Broken Glass, and Clogged Arms
Hard water is the most common culprit. Limescale builds inside the arm and narrows the jets over months. It also depends on where your water comes from, since well water carries far more minerals than most municipal supplies.
Broken glass behaves differently. Shards lodge in the nozzles and block flow immediately, so you'll notice the problem after a single cycle. You may also be chasing lingering odors at the same time, because trapped debris starts smelling fast.
Step-by-Step: Safely Opening and Cleaning a Serviceable Spray Arm
Tools, Prep, and Safety
Unplug the dishwasher or kill the breaker. Shut off the water supply valve under the sink. Wear gloves and eye protection, because broken glass and sharp plastic shards hide inside these arms.
You'll need a nut driver or adjustable wrench, a soft brush, a toothpick, and a shallow bowl. Skip anything metal and pointy near the jets.
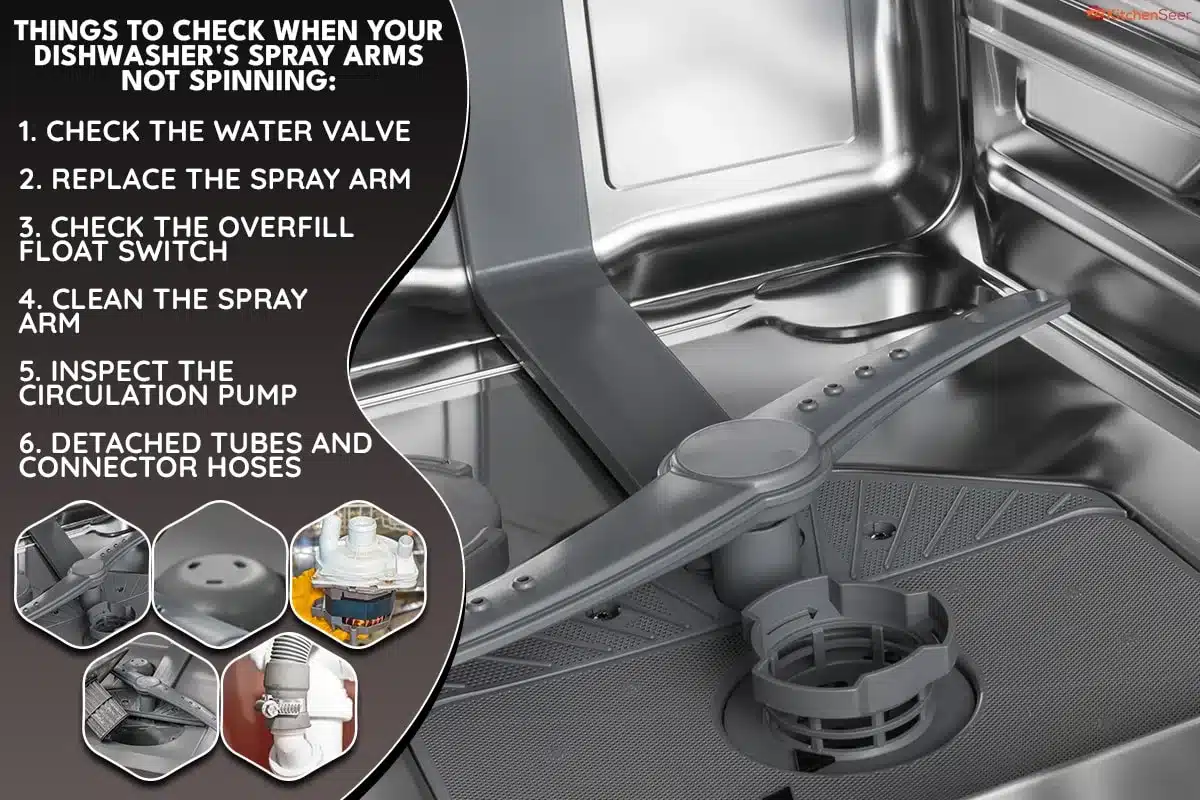
Image source: Web (Bing) / storage.googleapis.com (Web image (fair-use with source credit))
Removing the Spray Arm From the Hub
Most lower arms attach with a single retaining nut at the hub. Turn it counterclockwise by hand first. If it resists, use the wrench with light pressure only.
Upper and middle arms often clip onto a feed tube instead. Squeeze the release tabs and pull straight down. Never twist an upper arm, since the feed tube connection is fragile.
Opening the Cap or Seam
Twist the end cap a quarter turn and pull. For snap-fit seams, work around the perimeter with your fingers, not a screwdriver. Gentle, even pressure along the whole seam beats force at one spot.
Clearing Nozzles, Scale, and Debris
Soak the halves in warm soapy water for 15 to 20 minutes. Poke each nozzle with a toothpick to push debris out. Rinse under running water and hold the arm up to a light to confirm every jet is clear.
Reassembly, Spin Test, and Leak Check
Press the halves back together until they click. Refit the arm on the hub and tighten the nut hand-tight. Spin the arm by hand to check it rotates freely.
Run a rinse cycle and look for drips at the hub.
While the racks are out, it's worth tackling soap residue building up in the dispenser and giving the filter routine filter upkeep at the same time.
Cleaning Without Opening: Safe Alternatives for Sealed Spray Arms
Sealed arms still respond well to external cleaning. You just work through the nozzles instead of around them.
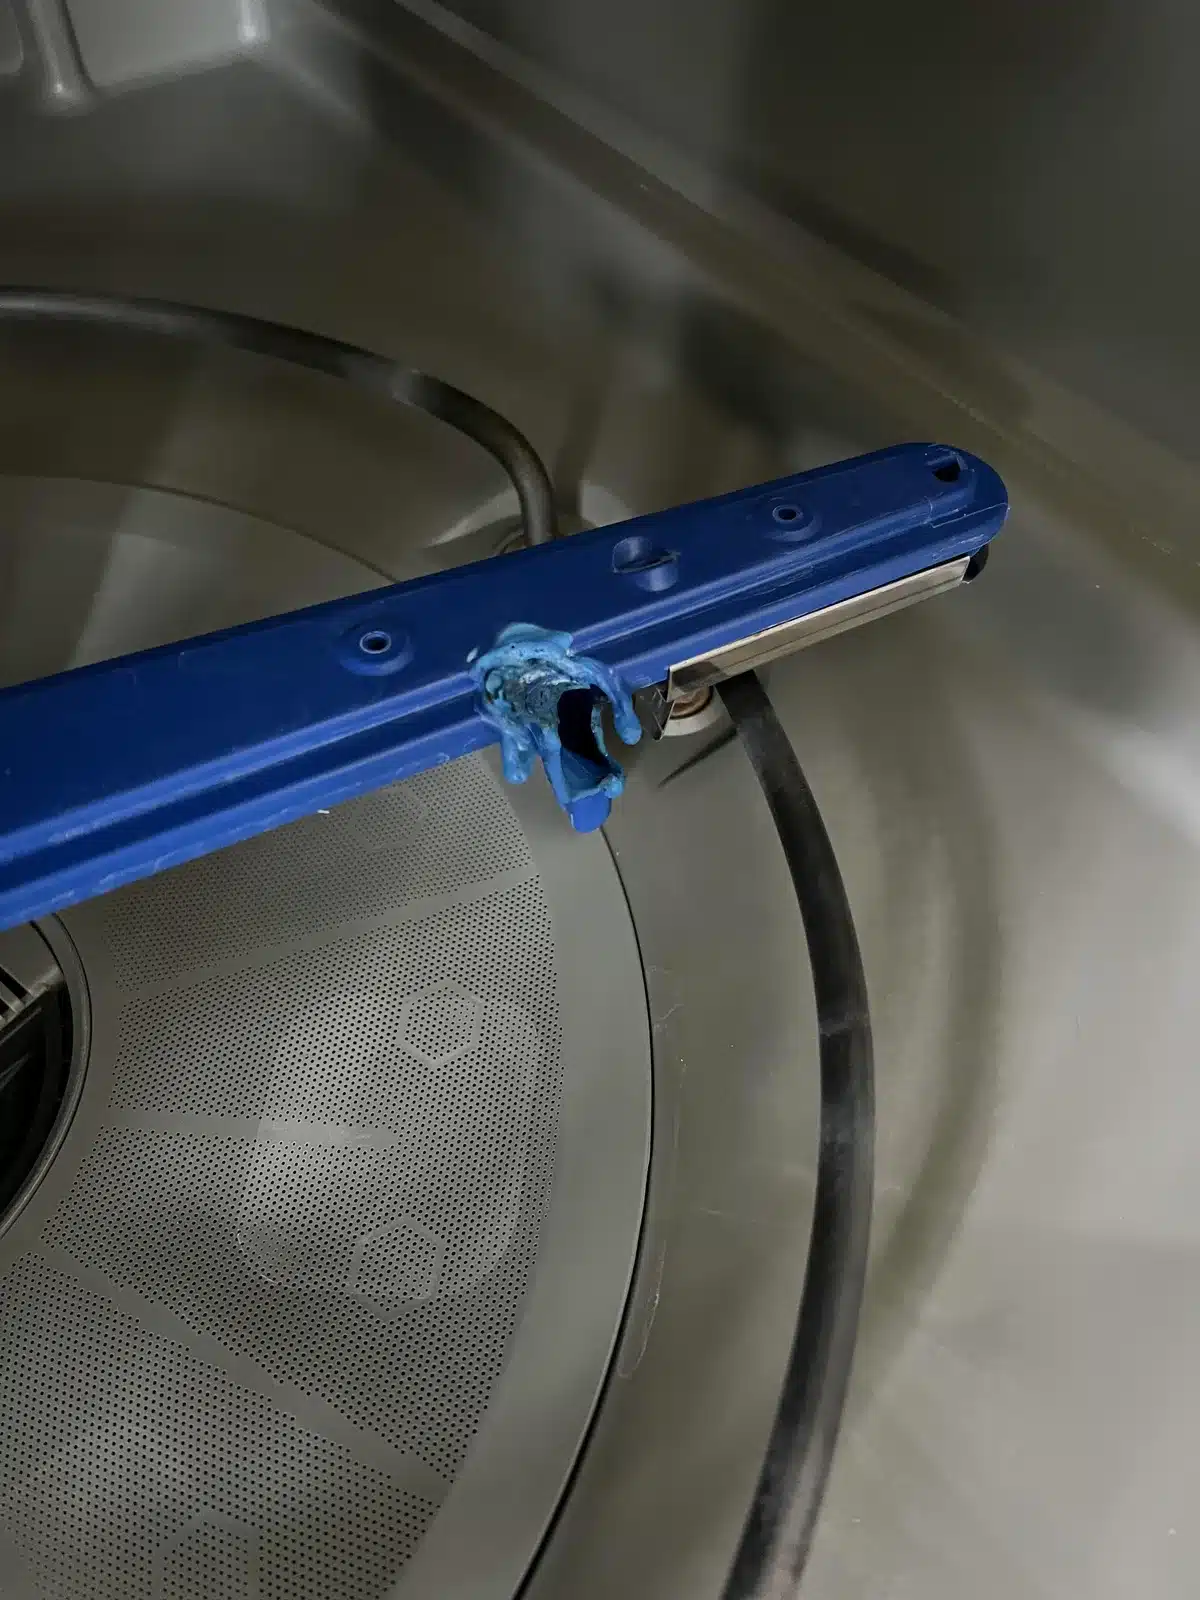
Image source: Web (Bing) / theblackurbantimes.com (Web image (fair-use with source credit))
Vinegar and Citric Acid Soaks
White vinegar dissolves limescale without attacking acetal or polypropylene. Mix one part vinegar to three parts warm water and soak the arm for 30 minutes. Citric acid works faster.
Use two tablespoons per quart of warm water and soak for 15 minutes.
Rinse thoroughly afterward. Acid left on the plastic can dry into a sticky film that traps more debris. If you want to clean the whole tub at once, the full tub treatment handles the interior in the same session.
Flushing Jets With Water and Simple Tools
A toothpick clears loose food. A pipe cleaner reaches deeper into angled nozzles. For stubborn scale, a soft brush plus warm water often does more than any chemical.
Never ream a nozzle with a metal pin. The holes are sized to meter water flow. Enlarging one changes the spray pattern across the entire load.
When In-Place Cleaning Stops Working
If jets stay blocked after two or three cleaning attempts, the buildup is internal and permanent. That's your signal to replace the arm. A new one costs far less than a service call.
| Method | Best For | Soak Time |
|---|---|---|
| White vinegar (1:3) | Light limescale | 30 min |
| Citric acid (2 tbsp per quart) | Heavy mineral scale | 15 min |
| Warm soapy water | Grease and food bits | 15 to 20 min |
| Plain water flush | Loose debris | Rinse only |
Mistakes That Crack Spray Arms, Cause Leaks, and Void Warranties
Prying a Sealed Welded Seam
The biggest mistake is treating every arm like it opens. Ultrasonic welds are permanent bonds, not tight seams. Prying one splits the plastic along the bond line, and no glue survives dishwasher heat and pressure.
Losing End Caps, O-Rings, and Retaining Clips
Small parts vanish fast. A missing end cap drops pressure across the entire arm. O-rings dry out and crack once removed, so inspect them before reusing.
Order spares with the new arm if you're replacing one anyway.
Over-Tightening the Mounting Nut
Hand-tight is the spec here. Cranking the nut down with a wrench crushes the bearing ring and stops the arm from spinning freely. You'll hear grinding on the next cycle.
That sound means back it off immediately.
Forcing the Arm Onto the Hub
If it doesn't seat with light pressure, something is misaligned. Forcing it cracks the hub or snaps the retaining tabs. A cracked hub is a much bigger repair than a clogged arm.
Using Harsh Chemicals
Drain cleaner and oven cleaner attack acetal plastic. Stick with vinegar and citric acid. Anything stronger eats the arm from the inside, and the damage shows up weeks later as cloudy, brittle plastic.
Skipping the OEM Part Number Check
Aftermarket arms vary by a millimeter or two in length and nozzle angle. Manufacturer specs confirm fit depends on exact model and serial ranges. A near-match sprays water in the wrong places, and your dishes come out just as dirty.
Replacement Costs, Part Numbers, and Final Decision Guide
OEM vs Aftermarket Spray Arm Pricing
| Option | Typical Price | Fit Risk |
|---|---|---|
| OEM from manufacturer | $25 to $70 | Lowest |
| Aftermarket third-party | $12 to $30 | Moderate |
| Universal fit | $8 to $15 | Highest |
OEM arms cost more but match the original nozzle pattern exactly. Aftermarket parts often work fine on common brands like Whirlpool and GE. Universal arms rarely spray correctly on any specific model, so skip them unless nothing else exists.
When to Repair, Replace, or Call a Tech
If the arm opens and cleans up well, repair it and move on. If jets stay blocked after two cleanings or the body is cracked, replace the arm. Call a technician if the hub, feed tube, or motor-driven wash system is damaged.
A replacement arm is a 15-minute job for most homeowners. Labor on a service call runs $100 to $150 in most US markets as of 2026. The part itself is cheap, so DIY makes sense when the arm is accessible.
Warranty, UL, and Water Damage Considerations
Opening a sealed arm can void the warranty on a newer machine. Per UL standards, dishwashers are tested as sealed assemblies for electrical and water safety. If you're still under warranty, call the manufacturer before prying anything open.
Water damage from a leaking arm costs far more than a new part. A slow drip under the tub can rot cabinetry over months. Check for moisture around the hub after every reassembly, and dry the area before running a full load.
Frequently Asked Questions
Can you open every dishwasher spray arm to clean inside?
No. Only arms with a removable end cap or a snap-fit seam open safely. Sealed ultrasonic-welded arms are one-piece by design and should be cleaned through the nozzles instead.
Prying a sealed arm almost always cracks it.
What if my spray arm has no visible cap or seam?
Treat it as sealed. Soak it in vinegar or citric acid, flush the jets with a toothpick, and replace it if performance doesn't improve. Never pry a solid molded arm, because the plastic won't reseal and you'll end up buying a new one anyway.
How often should you clean or replace a dishwasher spray arm?
Clean the nozzles monthly in hard water areas and every three months elsewhere. Replace the arm when jets stay blocked after two cleanings or the plastic shows cracks, warping, or broken retaining tabs.
Will opening the spray arm void my dishwasher warranty?
It can. Many manufacturers treat a sealed arm as non-serviceable and void coverage if it's opened. Check your warranty terms first, especially on machines under two years old.
A quick call to support saves you a lot of grief.
How do you know if the spray arm is clogged or just worn out?
A clogged arm sprays unevenly with visible weak spots and leaves food on some dishes but not others. A worn arm loses pressure everywhere, spins slowly, or wobbles on the hub. Clogs respond to cleaning.
Worn arms need replacement.
Do upper and lower spray arms open the same way?
Not usually. Lower arms tend to have a removable end cap or a retaining nut at the hub. Upper and middle arms often clip onto a feed tube and may be sealed at the tip.
Check each arm separately before assuming they match.

2 thoughts on “Can You Open Dishwasher Spray Arms to Clean Inside?”