
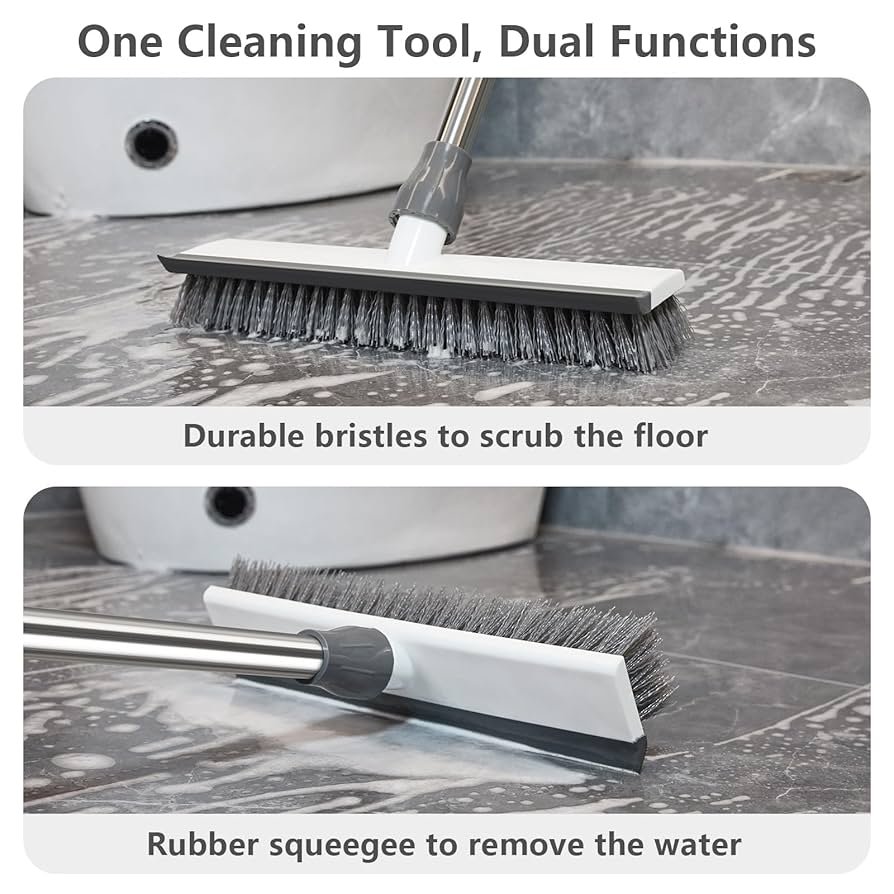
A grimy scrubbing brush doesn’t just look unappealing — it can spread bacteria back onto the surfaces you’re trying to clean. Over time, food residue, soap scum, and moisture turn bristles into a breeding ground for germs. The good news? Restoring your brush to like-new condition takes only a few minutes with common household items.
In this guide you’ll learn a complete, step‑by‑step process that removes embedded dirt, eliminates odors, and extends the life of your tool. Whether you’re tackling a greasy kitchen brush or a bathroom scrubber, these methods work. Let’s get started.
Why Cleaning Your Scrubbing Brush Matters
Most people rinse their brush quickly after use and assume that’s enough. In practice, a quick rinse leaves behind a biofilm of soap, grease, and microbes. Research from the CDC confirms that damp cleaning tools can harbor pathogens such as Salmonella and E. coli if not properly sanitized (CDC cleaning and disinfecting guidance). A neglected brush not only smells musty but also transfers grime to dishes, countertops, and tile.
Regular deep cleaning gives you three concrete benefits:
- Better performance – Clean bristles grip surfaces and lift dirt more effectively.
- Longer lifespan – Removing residue prevents bristles from hardening or breaking.
- A healthier home – You stop cross‑contaminating areas you’ve just “cleaned.”
What You’ll Need
 A typical collection of items for deep‑cleaning a scrubbing brush.
Gather these items before you begin. Having everything at hand makes the process smoother and less messy.
| Item | Purpose |
|---|---|
| Warm water | Loosens dirt and activates cleaning agents |
| Mild dish soap | Cuts grease without damaging bristles |
| White vinegar | Natural disinfectant; softens mineral deposits |
| Baking soda | Deodorizes and tackles stubborn stains |
| Old toothbrush | Reaches between bristles for detailed scrubbing |
| Clean towel | Absorbs moisture after rinsing |
If your brush is heavily greasy (e.g., from cast‑iron pans or grill grates), you can substitute a homemade degreaser for extra power. For routine maintenance, dish soap and vinegar alone are sufficient.
Step 1 – Remove Loose Debris
Before you soak or scrub, get rid of the obvious gunk. This step prevents dirt from redepositing onto the bristles during cleaning.
- Shake it out – Hold the brush over a trash bin and shake vigorously. You’ll be surprised how much dry debris falls out.
- Pick out threads and hair – Use a toothpick, the tip of a knife, or your fingers to remove long strands caught in the bristles.
- Tap against a hard surface – For a stiff brush, rap the handle against a counter edge to dislodge lodged particles.
Common mistake: Skipping this step means the dirt just swirls around in the soak water, making the solution dirty faster and requiring extra rinsing.
Step 2 – Prepare the Cleaning Solution
Choosing the right solution depends on what you’ve been scrubbing.
For general use: Fill a bowl or basin with warm water and add 1–2 teaspoons of mild dish soap. Swirl until suds form.
For grease and baked‑on residue: Mix ½ cup white vinegar with 2 cups hot water and a tablespoon of baking soda. The fizz helps lift stubborn grime.
For sanitizing (after cleaning raw meat or mold): Use a bleach solution – 1 tablespoon of unscented bleach per gallon of cool water. Never mix bleach with vinegar or ammonia.
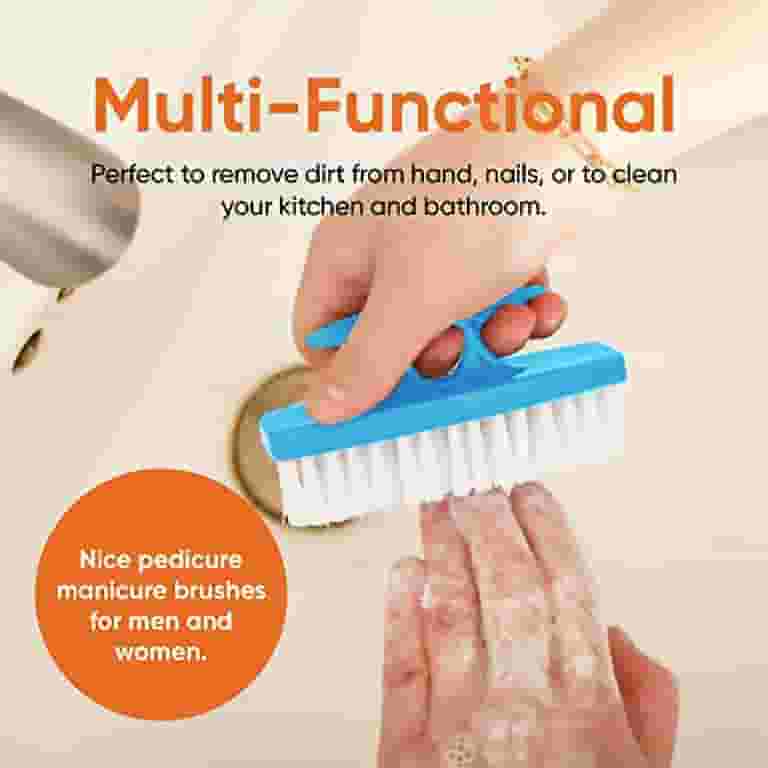 Mixing a vinegar‑based soak that cuts through grease naturally.
Step 3 – Soak the Brush
Submerge the brush completely in the prepared solution. Let it sit for 15–30 minutes – longer if the brush is heavily soiled, but no more than one hour. Overnight soaking can soften or warp the bristles, especially on natural‑fiber brushes.
While the brush soaks, the solution penetrates the base of the bristles where debris tends to hide. For extra effectiveness, agitate the brush in the water every 5 minutes to loosen particles.
Safety tip: Wear rubber gloves if you’re using bleach or vinegar solutions. Keep the basin away from children and pets, and work in a well‑ventilated area.
Step 4 – Scrub and Rinse
After soaking, remove the brush and hold it under warm running water. Use your fingers to spread the bristles apart, letting the water flush out loosened grime.
Then take your old toothbrush:
- Dip it in the remaining cleaning solution.
- Scrub the bristles of the scrubbing brush in a back‑and‑forth motion, focusing on the base.
- Rotate the brush to reach every side.
- Pay extra attention to the handle and the crevice where bristles meet plastic – a common spot for buildup.
Rinse thoroughly under running water. Continue until the water runs clear and no soap bubbles remain. Leftover detergent residue can attract more dirt later.
Step 5 – Deep Clean and Disinfect
For brushes used on cutting boards, raw meat juices, or bathroom mold, a simple wash isn’t enough. You need to kill bacteria.
Method A: Bleach soak – After the rinse, soak the brush in the bleach solution (see Step 2) for 10 minutes. Rinse again with cool water.
Method B: Boiling water – Bring a pot of water to a rolling boil, remove from heat, and submerge the brush for 5 minutes. Note: This method works only for heat‑resistant brushes (silicone, polyester, or nylon). Do not boil wooden‑handled brushes or natural bristles – they will crack or fray.
Method C: Dishwasher – Place the brush bristles‑down in the utensil basket of your dishwasher. Run a normal cycle with heated dry. This is the easiest option for brushes that are dishwasher‑safe (check the handle for a symbol).
Regular disinfection, especially after cleaning raw protein, dramatically reduces the risk of foodborne illness – a principle echoed in USDA safe‑kitchen practices.
Step 6 – Dry Thoroughly
Moisture is the enemy. A damp brush left in a dark cabinet will develop mold within 24–48 hours.
- Shake off excess water vigorously.
- Place the brush bristles‑up on a clean towel in a well‑ventilated area.
- If possible, set it near a window or under a ceiling fan to speed drying.
- Avoid storing it in a drawer or under the sink until it is completely dry – test by pressing a paper towel into the bristles.
Pro tip: For dish brushes that live by the sink, hang them on a hook or place them in a ventilated brush holder. This keeps air circulating around the bristles even between uses.
Regular Maintenance Tips
How often should you deep‑clean?
- Kitchen dish brush: every 7–10 days (or after cleaning raw meat).
- Bathroom scrub brush: every 2 weeks (more often if you battle mold).
- Grill or heavy‑duty brush: after each major use.
Daily upkeep
Give the brush a quick rinse under hot water and a shake after every use. Squeeze out as much water as you can. This simple habit alone prevents most buildup.
Storage matters
Store brushes in a dry, open area – not in a closed caddy or puddle. A clean brush stored poorly gets dirty again fast. If you’re reorganizing under the sink, check out creative under‑kitchen‑sink storage ideas to keep your tools dry and accessible.
Frequently Asked Questions
Can I clean a wooden‑handled brush the same way?
Partially. Avoid soaking the wood handle – it can crack or swell. Instead, clean only the bristles. Wipe the handle with a damp cloth and dry it immediately. Use a light mineral oil occasionally to protect the wood.
What if my brush smells even after cleaning?
The smell usually means bacteria are living inside the bristle base. Try a vinegar soak followed by a bleach soak (never mix the two). Let it dry in direct sunlight – UV rays naturally kill odor‑causing microbes.
How do I clean a brush with removable bristle heads?
Pop off the head and follow the same steps. Wipe the handle separately. This design makes maintenance easier; many brands recommend replacing the head every 3–4 months.
Can I use a scrubbing brush on non‑stick pans?
Only if the bristles are soft silicone or nylon. Stiff bristles (e.g., brass or hemp) will scratch non‑stick coatings. Always check the brush’s label to avoid damaging your cookware.
Conclusion
A clean scrubbing brush is the foundation of effective cleaning. By removing debris, soaking in the right solution, scrubbing thoroughly, disinfecting when needed, and drying completely, you keep your tool performing at its best – and your kitchen or bathroom genuinely sanitary.
Make this routine part of your weekly cleaning schedule. Your brushes will last longer, work harder, and never leave an unpleasant surprise behind. For related kitchen‑care tips, browse the full blog for guides on keeping your range hood filter spotless, making a powerful homemade degreaser, and maintaining specialty tools like a Scrub Daddy BBQ brush. A little attention today saves you from replacing brushes tomorrow – and gives you that sparkle you’re after.
