
A dripping or clogged pipe under the kitchen sink can feel intimidating, but replacing the plumbing yourself is entirely doable with the right approach. You’ll save the cost of a plumber and gain the confidence to handle one of the most common home repairs. This guide walks you through every step—from shutting off the water to testing for leaks—with practical tips that come from real DIY experience. By the end, you’ll have a dry, leak-free cabinet and the know-how to repeat the job whenever needed.
Credit: www.facebook.com
Understanding Your Sink’s Plumbing Layout
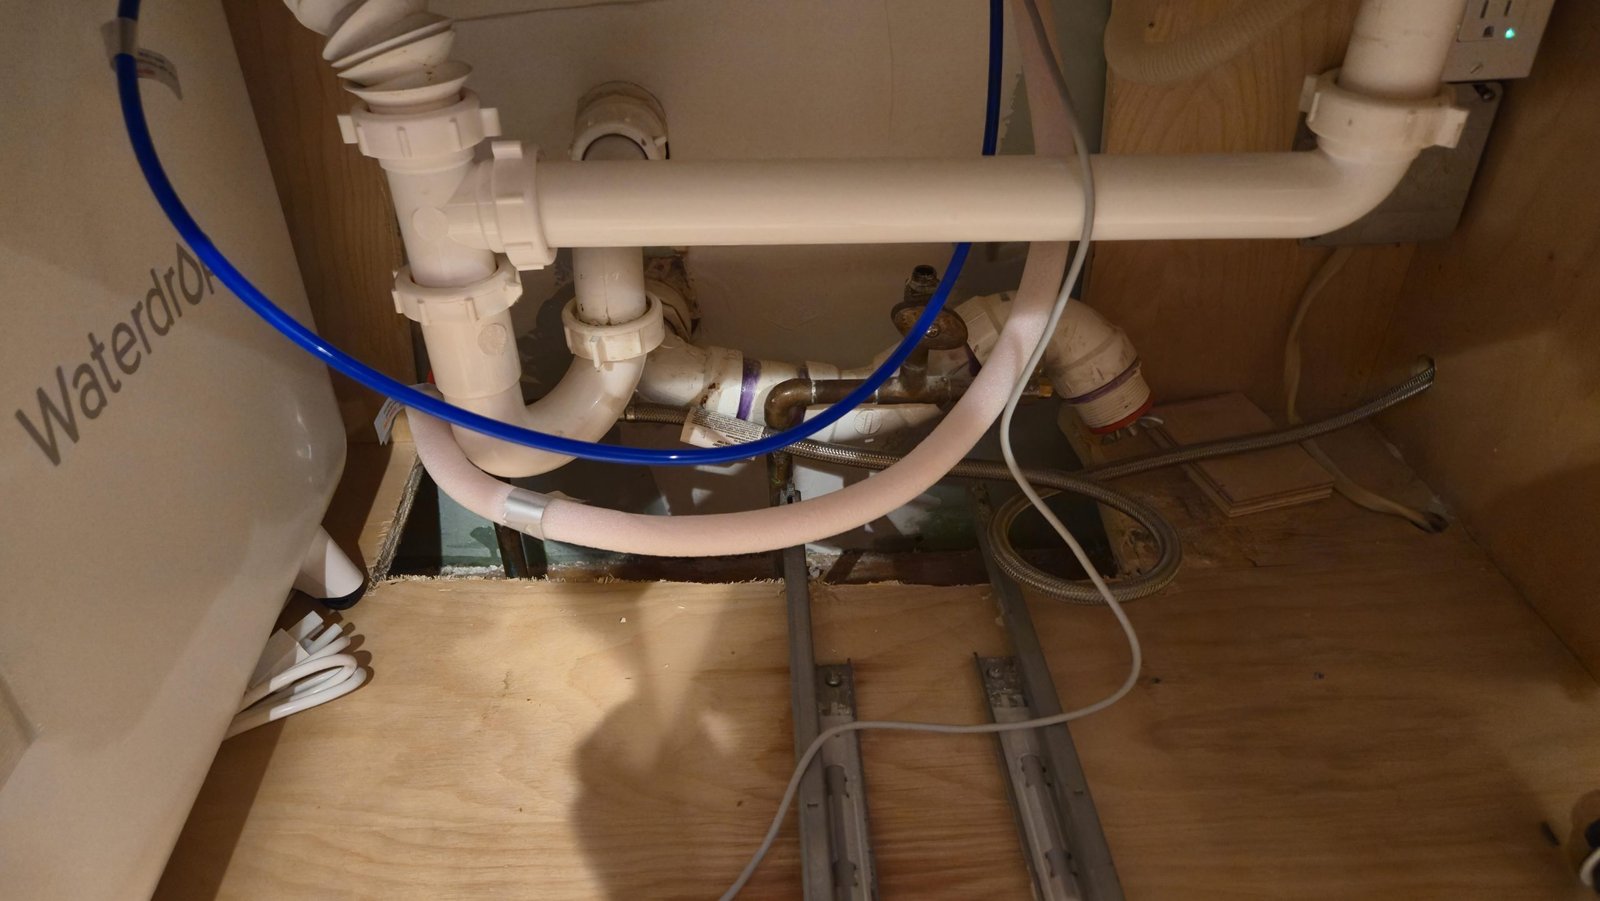
Before you touch a wrench, take a moment to understand what’s under there. A standard kitchen sink has two main systems: the supply lines (hot and cold water) and the drain assembly (P-trap, tailpiece, and waste pipe). The drain trap is the curved section you’ll see—it holds standing water to block sewer gases. Knowing these components helps you plan the replacement and avoid mixing up parts.
If you’re unsure of the exact configuration, refer to a detailed plumbing diagram for the under-sink area to visualise how everything connects.
Tools and Materials – What You Really Need
Getting the right items ready before you start makes the job go smoothly. Here’s a clear checklist split by category.
Essential Tools
| Tool | Purpose |
|---|---|
| Adjustable wrench | Loosening and tightening slip nuts |
| Bucket (at least 2-gallon) | Catching water left in the trap |
| Plumber’s tape (Teflon) | Sealing threaded connections |
| Pipe cutter or fine-toothed hacksaw | Cutting new pipe to length |
| Flashlight or headlamp | Seeing into dark corners |
| Rags and old towels | Wiping spills and protecting surfaces |
| Channel-lock pliers | Gripping stubborn fittings |
Pipe Materials – Which One to Choose
- PVC: Lightweight, inexpensive, and easy to cut. Best for drain lines. Avoid using PVC for hot-water supply unless rated for it.
- PEX: Flexible and freeze-resistant, used for supply lines. Requires a crimping tool for connections.
- Copper: Durable and long-lasting for supply pipes, but needs soldering or compression fittings. Not ideal for beginners.
- Galvanized steel: Found in older homes; prone to rust and reduced water flow. Better to replace with copper or PEX.
Safety Gear
- Rubber gloves (protect hands from debris and old grime)
- Safety glasses (shield eyes when cutting pipe)
- Knee pads (save your knees during extended work)
Prepare Your Workspace Like a Pro
A few minutes of preparation prevent a wet mess and make the whole job easier.
Step 1: Shut Off the Water Supply
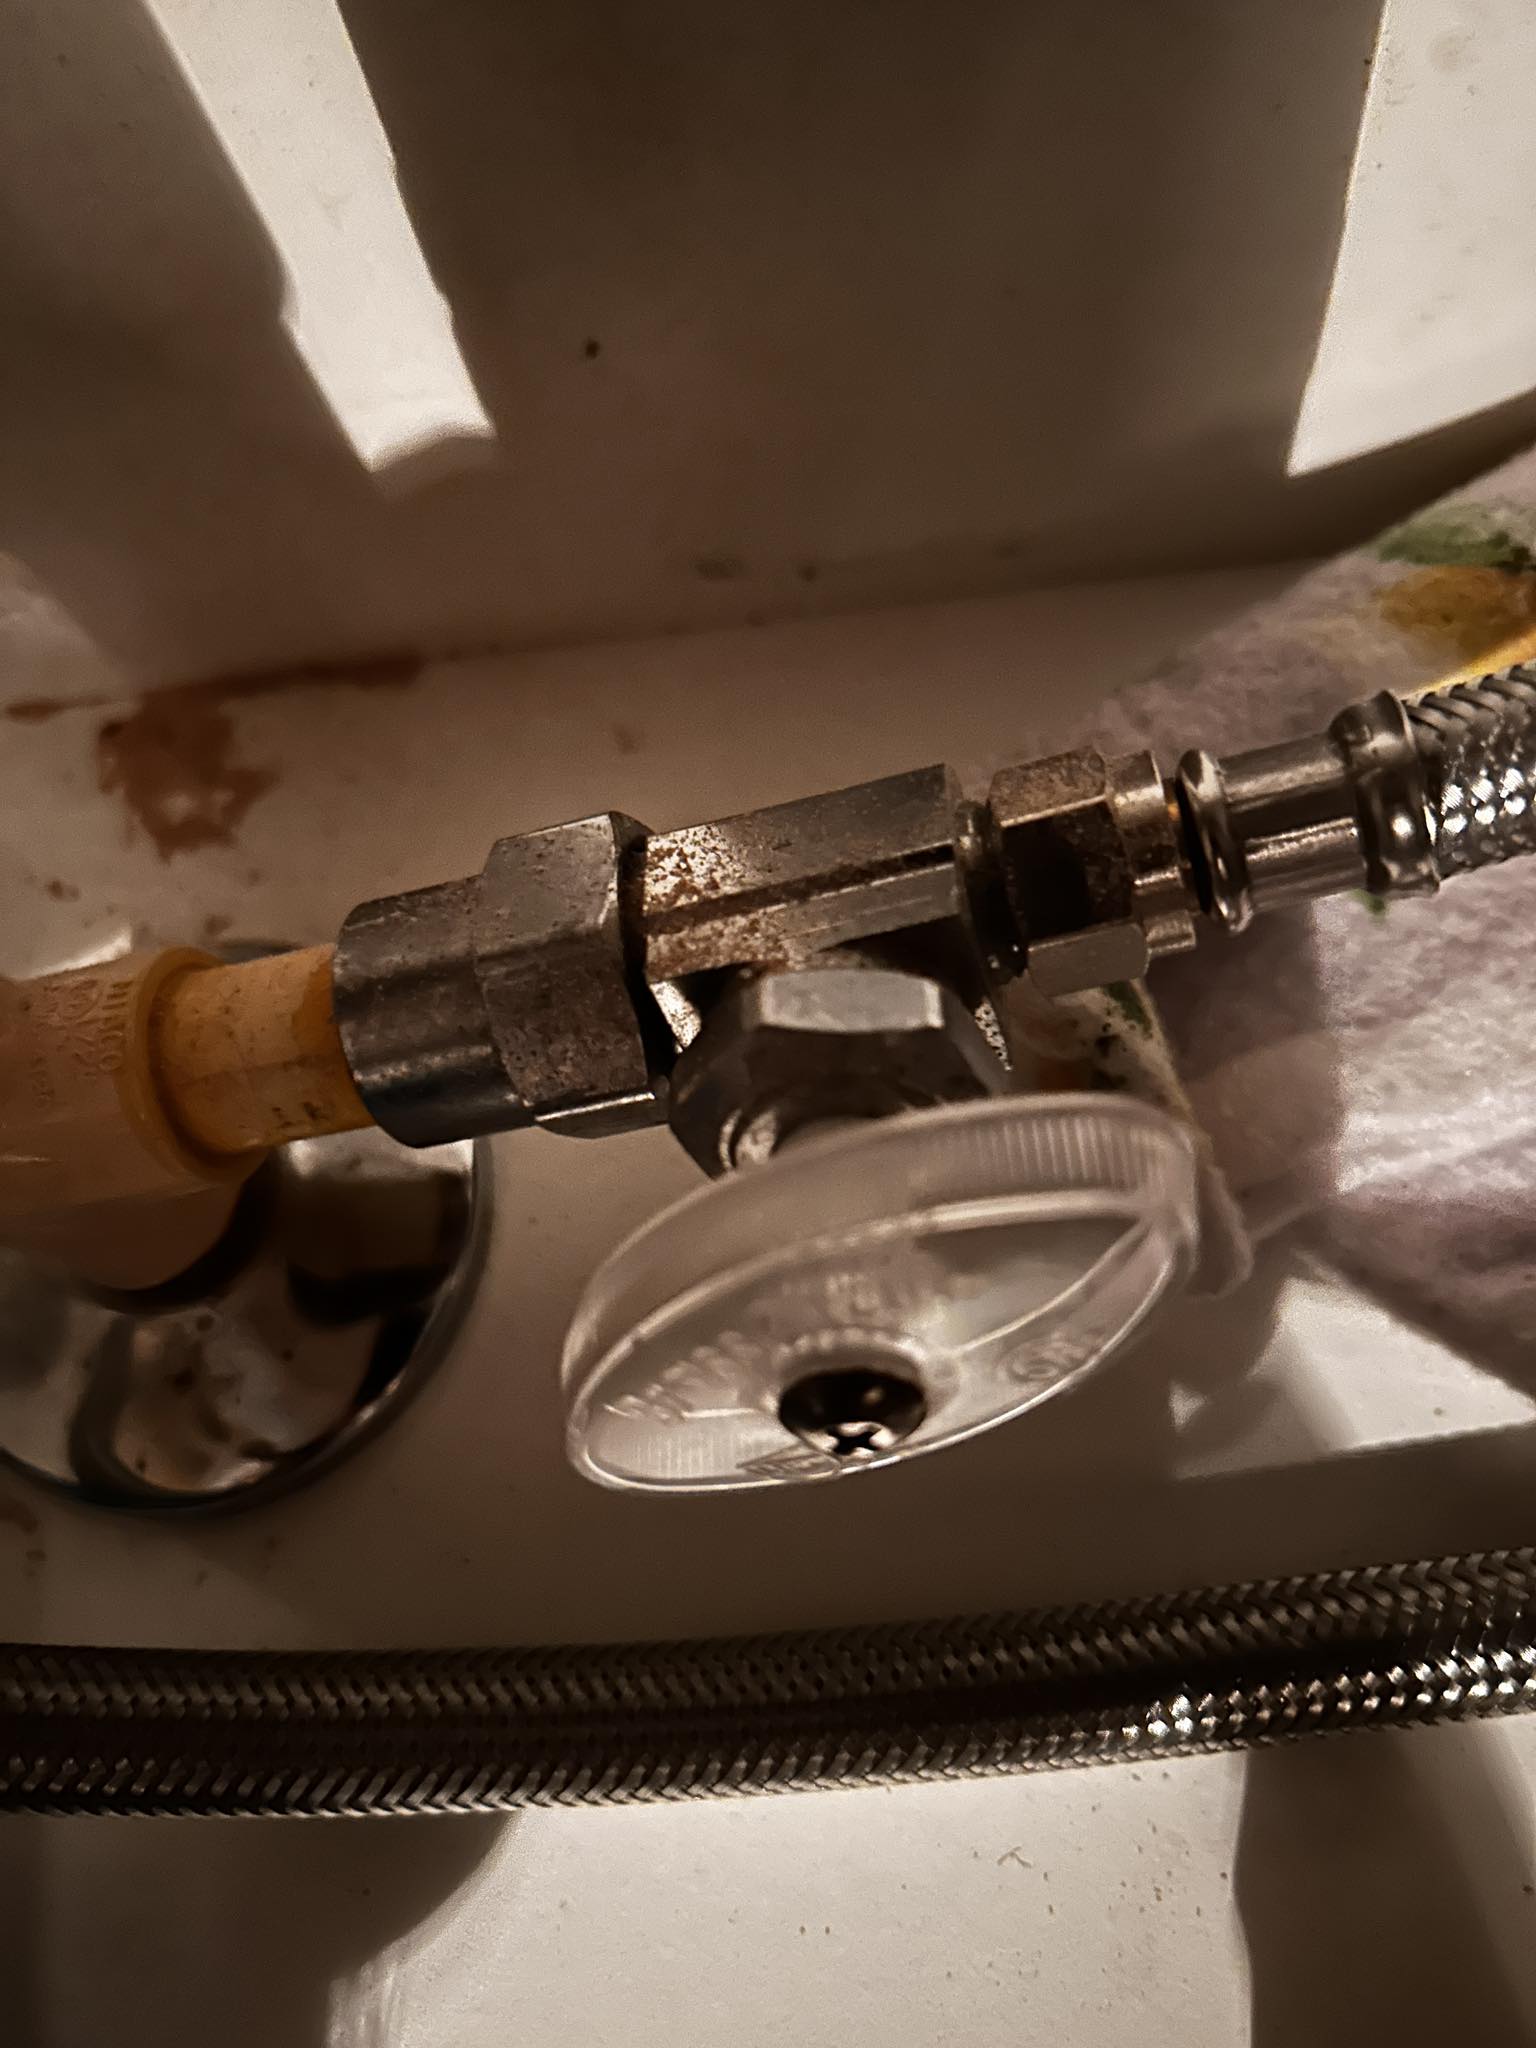
Locate the shut-off valves under the sink—usually two small handles on the hot and cold lines. Turn them clockwise until they stop. If the valves are stuck or leaking, you may need to shut off the main water supply for the house. Have a bucket ready anyway; residual water will still spill.
For more details on handling those valves, read our guide on water shut-off valves under the sink.
Step 2: Clear Everything Out
Remove all stored items—cleaning sprays, sponges, trash bins. Lay them on a countertop or table. This gives you full access and keeps chemicals away from your tools.
Step 3: Protect Your Cabinet and Floor
Spread old towels or a plastic tarp on the cabinet floor. If your kitchen floor is hardwood or tile, place cardboard or a drop cloth under your knees. Water damage under the cabinet is a common hidden issue that can lead to mold—protect it now.
Removing the Old Pipes
This is where patience pays off. Work slowly to avoid breaking old fittings.
Disconnect the Drain Pipes
Place your bucket directly under the P-trap. Loosen the slip nuts (the plastic or metal nuts that join pipe sections) using your adjustable wrench or pliers. If they’re stuck, spray a little penetrating oil around the threads and wait a minute. Never force a nut—it can crack a plastic fitting.
Handle the P-Trap Carefully
The trap will contain standing water even after you’ve turned off the supply. Tilt it gently into the bucket as you loosen the last nut. Inspect the old washers inside each joint—they are often flattened or brittle and should be replaced with new ones.
Inspect for Hidden Damage
Once the pipes are removed, look closely at the exposed stubs and the inside of the cabinet. Signs of water stains, soft wood, or mold suggest a long-term leak. This is also a good time to check for a leak that occurs even when water is turned off, which could indicate a faulty valve or supply line.
Installing New Pipes – Step by Step
Now you’re ready to build the new system. Accuracy here prevents future leaks.
Measuring and Cutting
Measure the distance between the sink drain outlet and the wall trap adapter. Account for the length of the straight tailpiece and the trap itself. Cut your PVC pipe with a pipe cutter or fine-toothed hacksaw. Always cut slightly longer than measured—you can trim, but you can’t add back.
Pro tip: Clean the cut edges with a utility knife or sandpaper to remove burrs. Rough edges can prevent O-rings from sealing properly.
Assembling the Pipe Sections
Start from the sink drain: attach the tailpiece (straight pipe) with a slip nut and new washer. Then connect the P-trap, ensuring the curved section faces the wall. Finally, attach the trap arm that goes into the wall drain. Hand-tighten each slip nut first, then snug with a wrench—do not overtighten, or you risk cracking plastic.
Align all sections so they slope slightly downward toward the wall (¼ inch per foot is ideal). Gravity helps drainage.
Sealing Threaded Connections
For any threaded metal-to-plastic connections (e.g., where a brass supply line meets a plastic shut-off valve), wrap plumber’s tape clockwise around the male threads three to five times. This fills tiny gaps and creates a watertight seal. For slip joints, the rubber or neoprene washer does the sealing—just make sure it’s seated flat and not pinched.
Testing for Leaks – Don’t Skip This
Even a small drip can cause major damage over time. Always test thoroughly.
Turn Water Back On Slowly
Open the shut-off valves one-quarter turn at first. Listen for hissing and watch for immediate drips. Then open fully. Let the water run into the sink for two minutes to build full pressure.
Check Every Connection
Wipe each joint dry with a paper towel, then watch for moisture. Pay extra attention to the trap nuts and the wall connection. Use a flashlight to see behind pipes. If you find a wet spot, tighten the nut slightly—usually an eighth to a quarter turn is enough. If the leak persists, disassemble, inspect the washer, and reapply tape if needed.
If you come across a stubborn drip that won’t stop, follow our dedicated guide on repairing a leaking pipe under the kitchen sink for targeted fixes.
Fix Minor Leaks Yourself
- Loose slip nut: Tighten gently with pliers.
- Damaged washer: Replace with a new one of the same size (available at any hardware store for under a dollar).
- Threaded connection: Add more plumber’s tape and retighten.
Maintenance Tips to Keep Pipes Leak-Free
Once your new pipes are in and working, a little routine care extends their life.
Monthly Visual Checks
Open the cabinet once a month and look for moisture, rust, or sagging. Gently touch the pipes with a dry cloth—any dampness demands investigation.
Prevent Clogs Naturally
Use a mesh drain strainer to catch food scraps. Once a week, pour a pot of boiling water down the drain to dissolve grease. Avoid chemical drain cleaners—they can corrode PVC and damage seals over time. A mixture of baking soda and vinegar followed by hot water works better and is safer.
Know When to Call a Professional
If you notice persistent gurgling, slow drainage even after cleaning, or a leak you can’t stop, it’s time to bring in a licensed plumber. Complex issues like a blocked vent pipe or corroded wall pipe require experience. For reference, you might also want to understand the vent under the kitchen sink and how it affects drainage.
Common Mistakes to Avoid (Based on Real DIY Experience)
- Overtightening plastic nuts: They crack easily. Hand-tighten, then add a quarter turn with a wrench.
- Forgetting to put the washer inside the slip nut: The washer must sit in the nut before you slide it onto the pipe.
- Cutting pipes too short: Always measure twice, cut once. You can shorten, but you can’t lengthen without an extra coupling.
- Skipping the leak test: A small drip you ignore today becomes a flooded cabinet tomorrow.
Frequently Asked Questions
How do I turn off water before changing pipes?
Locate the shut-off valves under the sink and turn both hot and cold handles clockwise until they stop. If they don’t fully close, shut off the main water valve for the house.
What tools are needed to replace kitchen sink pipes?
You’ll need an adjustable wrench, bucket, plumber’s tape, pipe cutter, channel-lock pliers, rags, and a flashlight. A small tubing cutter is best for PVC.
How long does it take to change kitchen sink pipes?
Most DIYers finish in 45–60 minutes the first time. With practice, you can do it in under 30 minutes.
Can I replace pipes without a plumber?
Yes—this is a beginner-friendly task if you follow instructions carefully. Just turn off the water first and take your time with the slip nuts.
Conclusion
Changing the pipes under your kitchen sink is a straightforward DIY project that saves money and gives you control over your home’s plumbing. By preparing your workspace, using the right tools, and testing thoroughly, you can complete the job with confidence. A small investment of time now prevents expensive water damage later. For any tricky leaks or additional guidance, remember that our site has a full library of plumbing and kitchen maintenance articles—start with the complete plumbing installation guide if you’re building from scratch.
And if you ever feel out of your depth, calling a professional is always a smart choice. But having done it yourself once, you’ll know exactly what to look for—and what to avoid—the next time.
