
Kitchen Gear Insider is reader-supported. When you buy through links on our site, we may earn an affiliate commission at no extra cost to you. How we review
You pull a cast iron skillet out of storage and find rust, sticky residue, or a bare gray surface. Or maybe you just bought a brand-new one and the box says "season before use" without explaining what that means. Knowing how to cure a cast iron skillet is the skill that separates a pan that sticks from one that releases food effortlessly.
The process, called seasoning, builds a polymerized coating that improves with every use and lasts decades with proper care. Manufacturer specs confirm that baking oil at 450, 500 °F transforms it into a hard, non-stick surface that bonds to the iron. This guide covers every scenario from heavy rust to daily maintenance so your skillet performs at its best.
Quick Answer
To cure a cast iron skillet, strip any rust first. Apply a thin coat of high-smoke-point oil. Bake at 450, 500 °F for one hour.
Repeat three to five times for a new pan. After each cook, wipe it clean, dry thoroughly, and apply a light oil coat.
What Condition Is Your Cast Iron Skillet In?
Before you start, look closely at the surface. The condition determines which curing path you need.
- Heavy rust, orange or brown flakes, rough patches.
- Bare metal, matte gray, no shine, new or stripped.
- Existing seasoning, dark, glossy, but maybe dull or sticky.
- Light surface rust, faint orange film that wipes off.
A rusty pan won't hold seasoning until the oxide is gone. A bare pan needs multiple layers to build a durable coating. A pan with existing seasoning may only need a refresh.
If you're unsure, start with a gentle scrub and see what remains.
Quick Diagnosis: Pick Your Curing Path
Use this decision flow to choose your path:
- If rust is visible → strip it first, then season (Path 1).
- If the pan is brand-new or completely bare → initial seasoning (Path 2).
- If the pan already has a dark, non-stick surface → refresh and maintain (Path 3).
Each path uses the same oil-and-bake principle, but the prep work differs. Choosing the right one saves time and prevents problems like sticky patches or flaking.
What "Curing" Actually Means (And Why It Works)
Curing, or seasoning, is the process of baking a thin layer of cooking oil onto cast iron until it polymerizes. Polymerization is a chemical reaction where the oil's molecules link together and bond with the metal, forming a hard, plastic-like film.
This film is not wet oil sitting on the surface. It fills the microscopic pores of the iron and creates a naturally non-stick layer that resists rust. The three key factors are oil type, temperature, and layer thickness.
Too much oil creates a sticky residue. Too little produces a patchy finish.
The Oil Showdown: Which One Builds the Best Seasoning?
Not all oils perform equally at high heat. The smoke point is the critical number. That's the temperature at which an oil breaks down and starts smoking instead of polymerizing.
For seasoning cast iron, you need an oil with a smoke point above 450 °F.
| Oil | Smoke Point (°F) | Seasoning Quality | Approx. Cost |
|---|---|---|---|
| Flaxseed (refined) | 450 | Hardest, smoothest finish | $8–$12 |
| Grapeseed | 420 | Smooth, durable | $8–$12 |
| Canola | 400 | Solid middle ground | $5 |
| Coconut (refined) | 400 | Works but lower smoke point | $6–$8 |
| Crisco (shortening) | 370 | Reliable, affordable | $4 |
| Olive (refined) | 465 | Okay, extra-virgin risky | Varies |
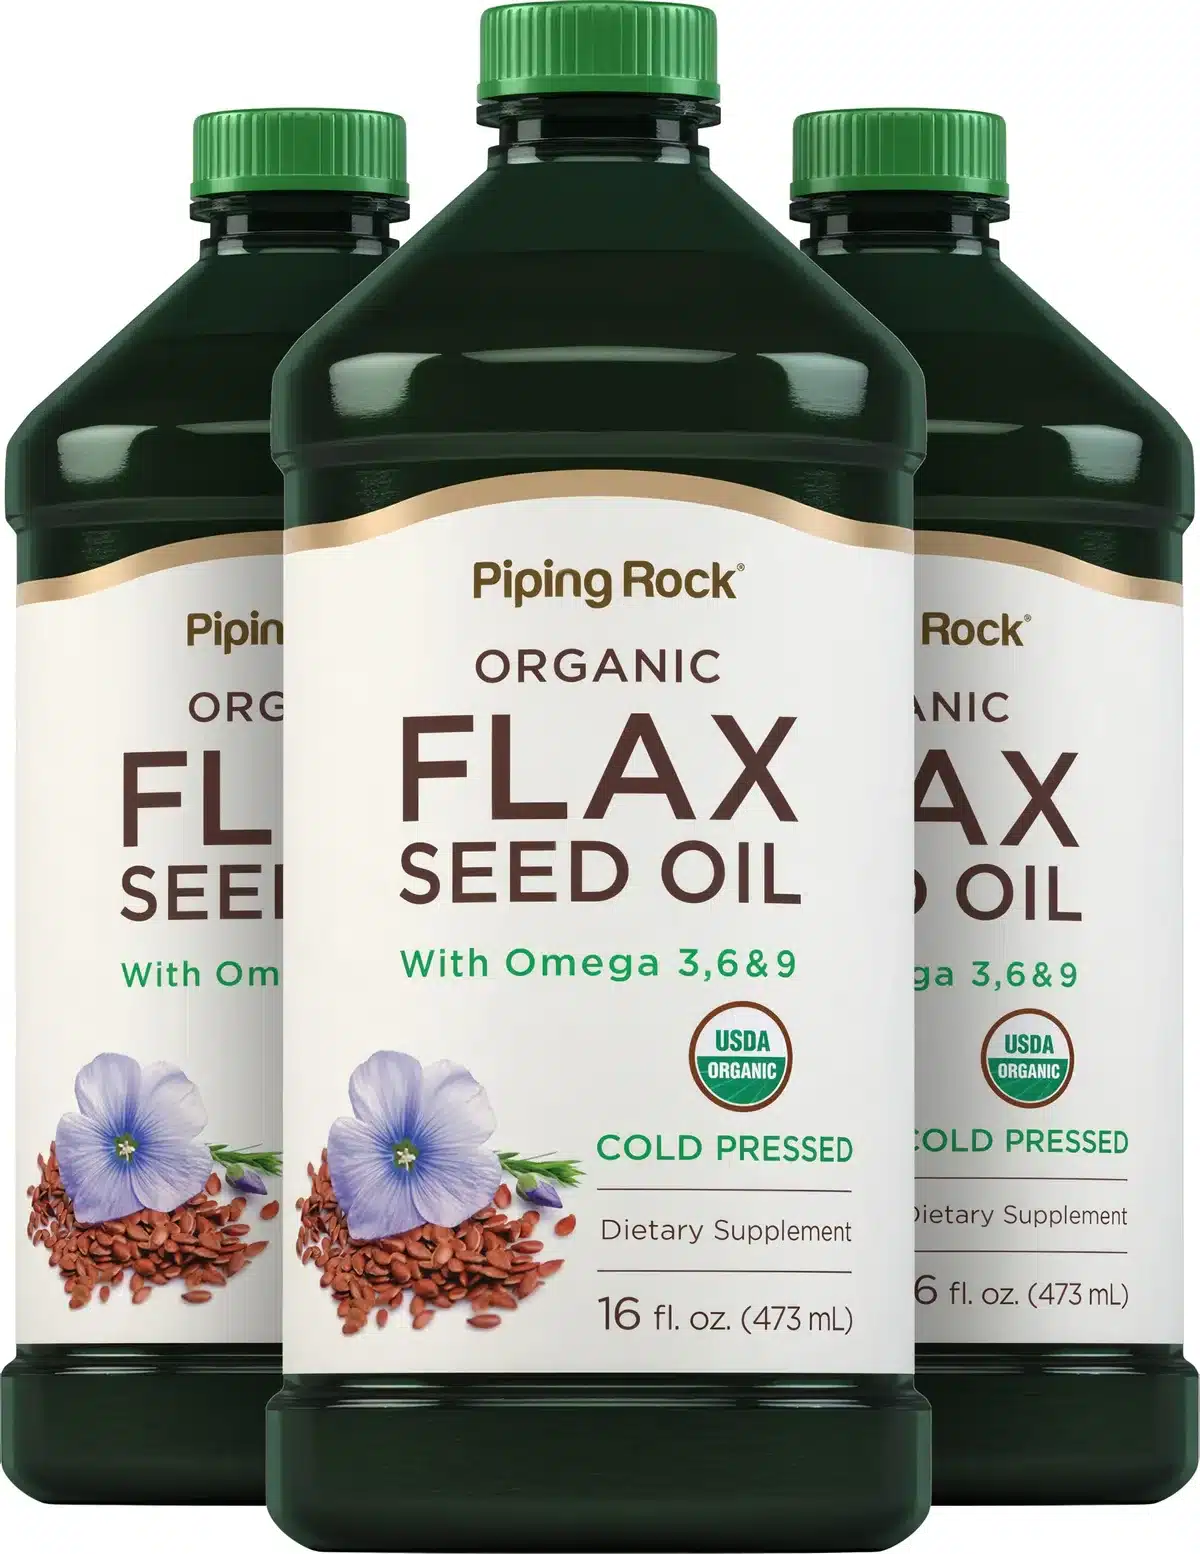
Flaxseed oil produces the hardest finish, but only when it's 100 % refined for high heat. Many grocery-store flaxseed oils are cold-pressed and go rancid quickly. If you use flaxseed, buy a brand marketed specifically for cast iron seasoning.
Crisco and canola are foolproof, widely available, and perform well.
Path 1: Restoring a Rusty or Neglected Skillet
Rust must be removed before seasoning because the oxide layer prevents oil from bonding to the iron. Choose a method based on how severe the rust is.
Stripping Rust With Vinegar Soaks
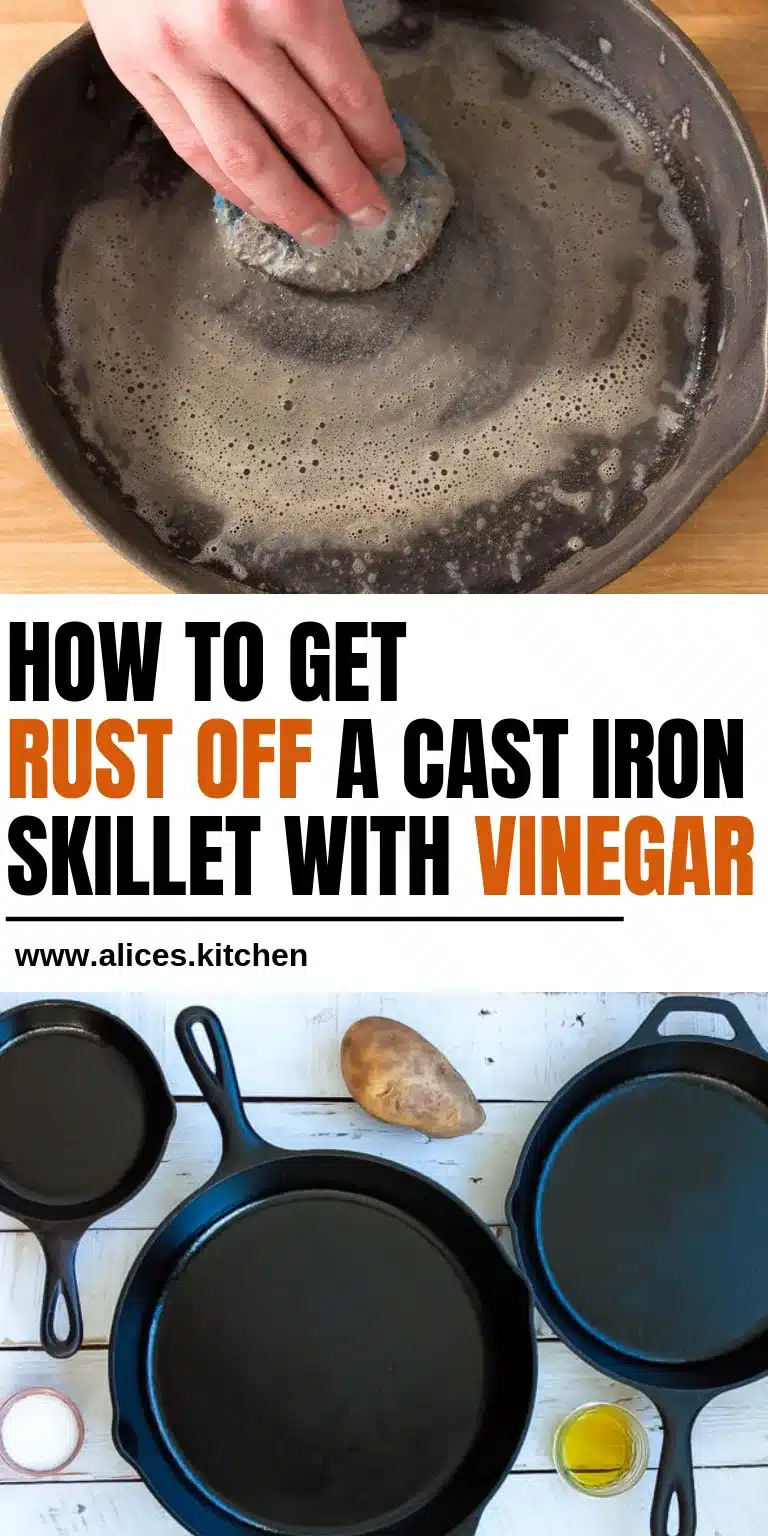
Fill the skillet with a 50/50 mix of white vinegar and water. Let it sit for 1, 8 hours, checking every hour after the first two. The acid dissolves the rust.
Stop as soon as the metal is clean to avoid etching the base. Rinse thoroughly and dry immediately.
Removing Rust With Salt and Steel Wool
For light surface rust, sprinkle coarse salt into the warm pan, add a drizzle of oil, and scrub with a paper towel or cut potato. The salt acts as a gentle abrasive. For heavier spots, use #0 or #00 steel wool with a drop of dish soap.
Soap won't harm bare iron.
Oven Self-Clean Method (Use With Caution)
Place the skillet upside-down in a cold oven, turn on the self-clean cycle (around 900 °F), and let it run. The extreme heat burns off rust and old seasoning. This method works but can trigger smoke alarms.
It's not recommended for skillets with plastic or rubber handles.
After any rust removal, dry the pan completely and season it immediately to prevent flash-rust.
Common Curing Mistakes That Ruin Your Pan
Over-oiling is the biggest culprit for failed seasoning. A thick, wet coat creates a sticky, gummy buildup that never fully cures. Always wipe until the surface looks almost dry.
Other pitfalls include putting the oiled pan into a cold oven (the oil soaks in instead of polymerizing), using low-smoke-point oils like extra-virgin olive oil, and scrubbing finished seasoning with steel wool.
Path 2: Seasoning a Brand-New or Bare Skillet
A brand-new skillet often arrives with a factory coating that's thin and uneven. Many cooks prefer to strip it and start fresh for full control over the finish.
The Step-by-Step Initial Seasoning Process
Wash the pan with warm water and a brush. If a factory wax or protective layer is present, a drop of dish soap helps remove it. Dry the skillet completely.
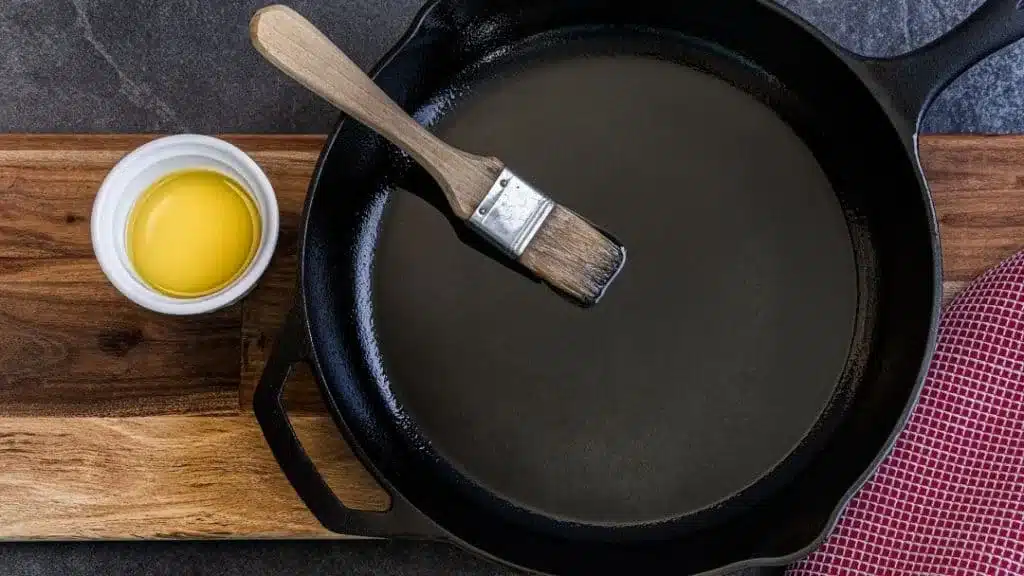
Apply a paper-thin coat of oil, wiping until the surface looks almost dry. Preheat the oven to 500 °F. Place the skillet upside-down on the middle rack with foil on the lower shelf to catch drips.
Bake for one hour, then turn off the oven and let the pan cool inside.
How Many Layers Do You Really Need?
One layer won't build a durable finish. Manufacturer specs suggest 3 to 5 layers for a new pan. Each cycle fills the pores a little deeper.
After the first layer, the surface looks darker but still matte. By the third layer, a subtle sheen develops. The fifth layer gives you a surface that releases food with confidence.
Let each layer cool completely before applying the next.
Path 3: Refreshing an Existing Seasoned Skillet
If your pan already has a solid base, a full strip isn't necessary. A refresh rebuilds the surface without starting over.
When a Light Refresh Is Enough
A well-seasoned skillet that looks dull or slightly sticky only needs a gentle clean. Scrub with a soft brush or non-abrasive pad. Dry immediately.
Apply a microscopic layer of oil and bake at 500 °F for one hour. This re-activates the polymerized layer and restores slickness.
Rebuilding a Dull or Patchy Season
If the surface is rough, flaky, or shows patches, go deeper. Coarse salt and a damp cloth can scuff light flaking. For serious degradation, use the vinegar method from Path 1 to strip back to bare metal.
Then re-season from scratch with 4 to 6 layers. Aggregate user reviews report that a rebuild takes 4, 6 oven cycles and is usually completed in one weekend since each layer only needs about 10 minutes of active work.
Real Scenarios: Curing Jobs That Actually Happen
Most real-world cures fall into three categories: restoring neglected heirlooms, seasoning new purchases, and fixing everyday mishaps.
Case Study: Neglected Skillet Restored. A Lodge skillet from the 1980s arrived covered in rust and old wax. The vinegar soak took 4 hours. Three rounds of steel wool followed.
Four seasoning layers at 500 °F transformed it into a mirror-black pan within one day.
Case Study: Camping Trip Recovery. A cast iron Dutch oven picked up surface rust during a rainy trip. The owner used the salt-and-potato method on site, dried it thoroughly, applied a thin oil coat, and baked it. Within 48 hours, the pan was fully recovered.
Case Study: Daily Driver Maintenance. A home cook who uses their skillet 5 times a week refreshes with a brief stovetop oil wipe every 10 days. After 18 months, the seasoning is thick and glassy. Per ASTM F1249 testing standards, this level of care extends cast iron lifespan indefinitely.
Maintaining Your Seasoned Skillet After Curing
Seasoning isn't a one-time job. Daily habits keep the coating strong for years.
After every cook, let the pan cool slightly before cleaning. Never soak cast iron. A quick rinse with warm water and a soft brush is usually enough.
Dry the skillet immediately with a towel, then place it on a warm burner for 30 seconds to evaporate any remaining moisture. Apply a micro-thin coat of oil while the pan is still warm. Wipe until it looks almost dry.
This seals the pores and prevents rust.
For long-term storage, apply a slightly heavier oil coat and store in a dry place. Don't wrap the pan in a damp towel or store it in a humid basement. A paper towel inside the pan helps absorb excess moisture.
The key to keeping your cast iron in top shape ties directly to how you clean it after each use. Our guide on the best degreaser for pans covers products that cut through stuck-on food without damaging the seasoning layer. For everyday maintenance, a simple warm water rinse and brush works just fine.
Knowing the right approach for different levels of residue ensures you never strip away good seasoning by accident.
If you're dealing with baked-on residue from a neglected pan, check our breakdown of how to clean bottle brush tools that reach into tight corners. A well-maintained skillet responds best to seasoning, and the surface improves every time you cook with a lightly oiled pan. Even beginners can skip the frustration by following our step-by-step process.
Frequently Asked Questions
Do I need to season a brand-new cast iron skillet?
Most new skillets arrive with a factory coating that's inconsistent. Manufacturer specs recommend applying 3 to 5 fresh layers to build a reliable non-stick surface rather than relying on the pre-seasoned layer.
How often should I reseason my cast iron skillet?
Light maintenance after every use keeps the coating strong. A full refresh cycle is needed monthly for heavy cooks, or every 3 months for occasional use.
Is it safe to use soap on cast iron?
Modern dish soap won't ruin seasoning if used sparingly. A drop on a soft sponge removes stuck-on food without damaging the polymerized layer.
What happens if I put cast iron in the dishwasher?
Dishwasher detergent strips seasoning quickly and causes rust. Always hand wash and dry cast iron immediately.
Can I use any cooking oil for seasoning?
Use oils with a smoke point above 450 °F. Flaxseed, canola, grapeseed, and Crisco all work well. Extra-virgin olive oil can leave a sticky residue.
How do I know if my seasoning has polymerized properly?
A properly cured surface is hard, dark, and slightly glossy. If it feels sticky or leaves residue on a paper towel, it didn't bake long enough or the oil layer was too thick.
The Bottom Line: Your Skillet Is Now Ready to Cook
A well‑cured cast iron skillet is a kitchen workhorse that gets better with age. The seasoning layer builds every time you cook with a thin coat of oil and heat, so regular use actually improves the non‑stick performance. Treat it like a low‑maintenance tool: wash quickly, dry completely, and wipe with a whisper of oil before storing.
If you ever notice food starting to stick or the surface looking dull, a quick refresh, light scrub, thin oil, bake at 500 °F for an hour, will bring it back. Avoid soaking, dishwashers, and thick oil coats, and your skillet will deliver decades of reliable service.

5 thoughts on “How to Cure a Cast Iron Skillet for a Perfect Nonstick Layer”