
If you need to know how to change range hood light bulb, this guide will walk you through the safe, correct steps. Most bulb swaps are quick, but the exact process depends on the bulb base, voltage, and whether the hood uses a transformer or an integrated LED module.
Manufacturer specifications commonly list a 60 watt maximum for small recessed hood fixtures, and NFPA wiring rules cover appliance junction boxes, as of 2026. Below you’ll find the quick answer, clear visuals, tools, step logic, troubleshooting, and safety guidance so you can finish the job without surprises.
Quick Answer
How to change range hood light bulb, step by step.
Turn off power at the breaker first.
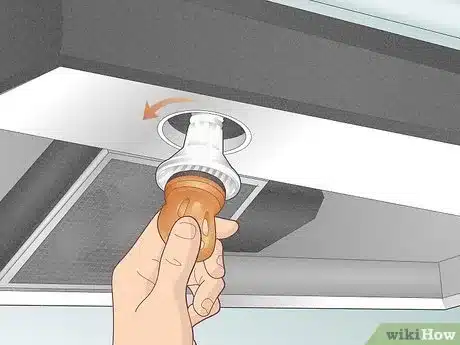
Remove the lens or clips carefully.
Match base and voltage, then install the replacement.
Test power, then reassemble.
Common problems & pain points homeowners run into
Wrong base and wrong voltage are the top mistakes. People buy an MR16 when the hood needs a GU10 or a 12 volt lamp when the socket is 120 volt. That leads to bulbs that do not light or that fail immediately.
Stuck lenses and brittle clips break when forced. Kitchens with heavy grease build up often have fused trim and stuck retainers. For cleaning techniques that free clips safely, try these grease removal tips for cupboards.
Socket damage and blackened contacts show overheating or arcing. If you see burn marks or loose wiring, stop and call an electrician. NFPA wiring rules apply to appliance circuits and junction boxes, and a professional can confirm code compliance.
For local disposal questions about hazardous lamps, consult EPA lamp disposal guidance.
Low-voltage transformer issues cause LED retrofits to flicker or not start. Electronic transformers often need a minimum load. We cover transformer checks in the Visual ID guide below.
How range hood lighting systems work
Range hood lights fall into two categories, replaceable lamps and integrated LED modules. Replaceable lamps use discrete bulbs and sockets so you can pull or unscrew the lamp. Integrated modules are sealed and often require a service part or professional repair.
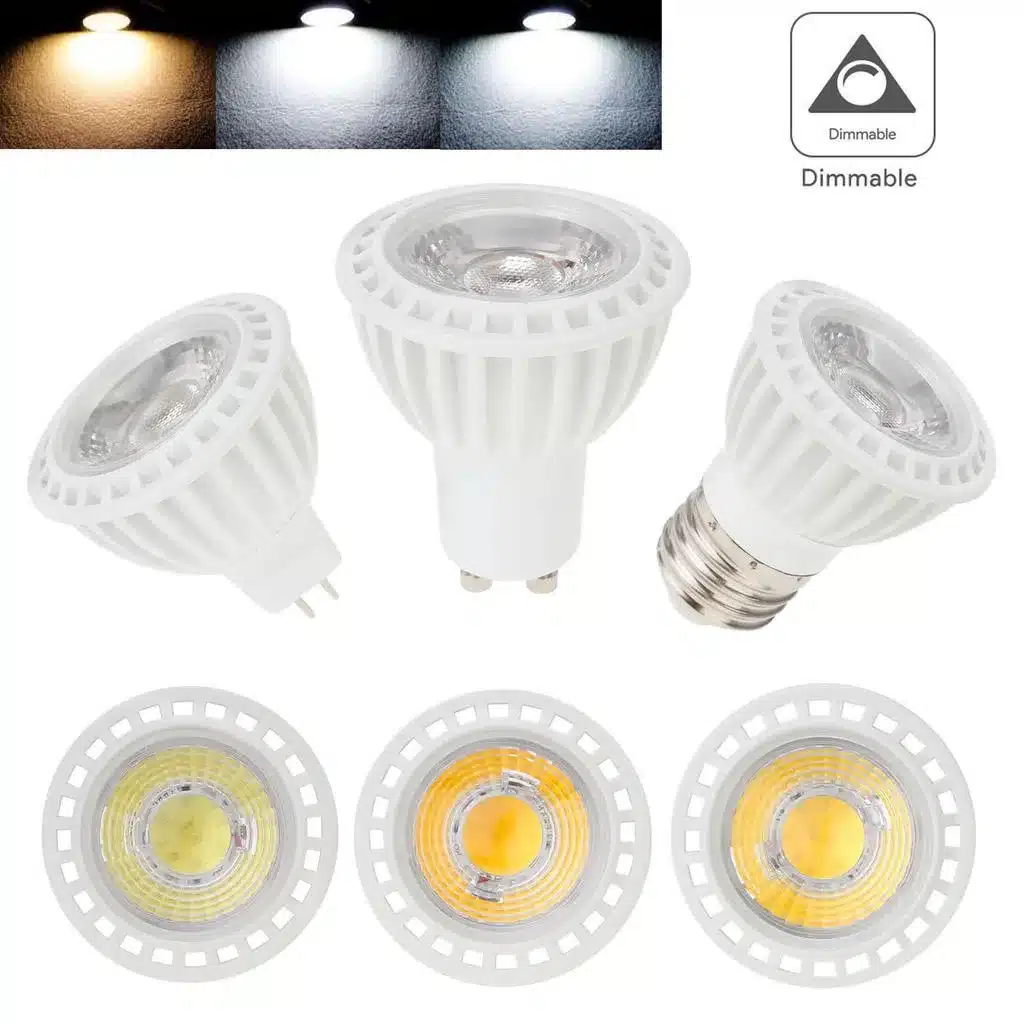
Line-voltage fixtures use standard medium screw bases, typically E26 in the U.S. Low-voltage fixtures use transformers and common bulbs like MR16, which run at 12 volts and seat in bi‑pin sockets. GU10 is a twist‑lock style used in some hoods and can be either 120 volt or low-voltage depending on the model.
Transformers and drivers matter for LED retrofits. Magnetic transformers handle halogen loads better. Electronic transformers often list a minimum load and can fail to start with low-wattage LEDs.
Manufacturer specs will list transformer type and minimum load. Look for UL or ETL marks on new drivers and lamps.
Fixture parts to know
- Lens or diffuser, usually glass or acrylic.
- Retaining clips or spring plates that hold the lens.
- Socket type, which determines the bulb base.
- Transformer or LED driver, if present.
- Housing and mounting plate, which may have screws or factory fasteners.
When a hood has an integrated LED module, the LED array, driver, and heat sink are part of the appliance assembly. Some manufacturers sell OEM modules, but many do not. If no service part exists, the options are conversion or replacement.
Visual cue, what photos and diagrams should show
A clear photo should show the socket, the lens retention method, and any visible transformer. A wiring label on a transformer will identify input and output voltages. Take a photo before disassembly, so you can match connectors and screw locations on reassembly.
Visual ID guide — what to photograph and how to identify base, voltage, and module
Take three photos before you touch anything: a wide shot of the hood, a close-up of the bulb and socket, and a photo of any wiring or transformer label. Photos make ordering parts faster and reduce reassembly errors.
How to spot common base types
- E26 medium screw, looks like a household bulb, threaded metal base. Unscrew anticlockwise.
- MR16 bi‑pin, about 2 inches across, two pins that pull straight out. Do not twist.
- GU10 twist lock, two lugs that twist about a quarter turn to remove.
- G4 or GY6.35, tiny pins for compact fixtures, handle with care.
How to tell line-voltage versus low-voltage
- E26 indicates line-voltage in most U.S. installs.
- If you see a small box labeled 120V in, 12V out, that is a transformer. That means low-voltage bulbs are used.
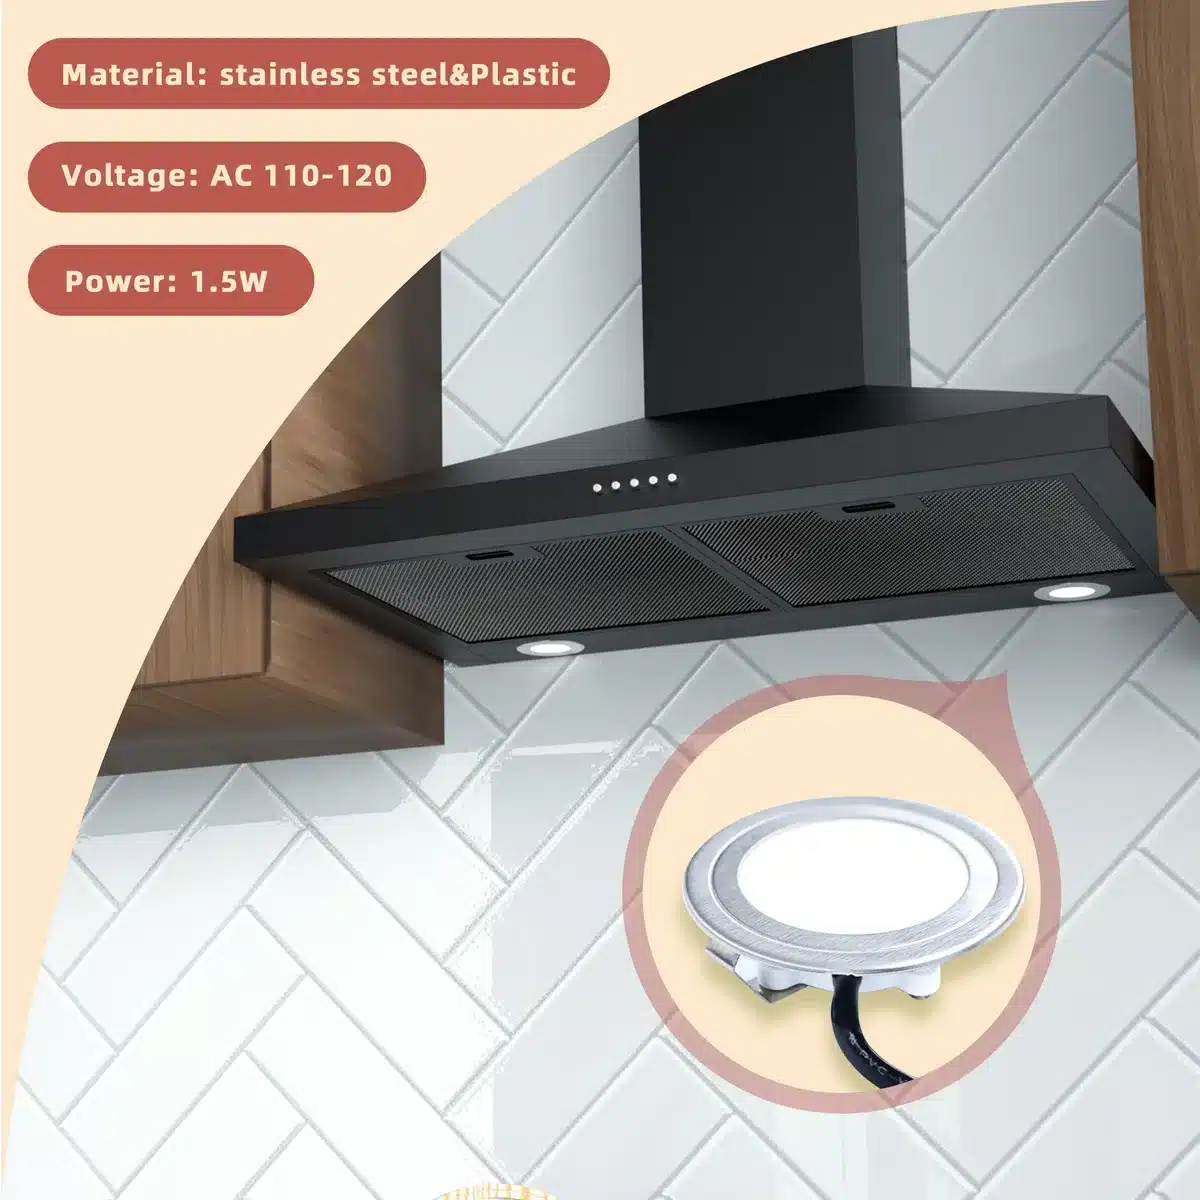
- If the light source is a flat board or heat sink, it is probably an integrated LED module and not a user-replaceable bulb.
If you need parts, include the base type, the clear diameter under the lens, and the transformer label in the photo. A vendor will match bulbs by those details.
Tools, replacement parts, and what to buy
Match the replacement to the original exactly. Bring a photo when buying parts so the clerk can confirm fit.
Tools and materials table
| Item | Purpose | Notes |
|---|---|---|
| Screwdrivers (Phillips and flat) | Remove lens screws and panels | Magnetic tips help |
| Gloves or lint cloth | Protect bulb and hands | Use gloves for halogen bulbs |
| Non-contact voltage tester | Confirm power is off | Quick safety check |
| Replacement bulb | Match base, voltage, wattage | Check fixture sticker |
| Flashlight or headlamp | Inspect inside housing | Keeps both hands free |
| Needle-nose pliers | Remove stubborn clips | Use gently |
| Replacement socket kit | For corroded sockets | Replace if contacts are bad |
What to check on the replacement bulb
- Base type and pin spacing.
- Voltage rating: 120V versus 12V.
- Maximum wattage noted on the fixture.
- Dimmability, if the hood has a dimmer.
Practical buying notes
- LED replacements save energy and run cooler, but confirm transformer compatibility for low-voltage circuits.
- Keep one matching spare bulb near the hood. Our under-counter storage ideas page shows compact storage options.
Image for a common part
Cost ranges
- Basic LED bulbs: about $5 to $20 each.
- Replacement transformers or drivers: $30 to $150 parts only.
- OEM integrated modules: $30 to $200 depending on model.
Safety reminder
- Turn off the breaker before replacing parts. If the socket looks burned or the wiring seems damaged, hire a licensed electrician.
Step-by-step: changing a replaceable line-voltage or push‑in bulb (safe workflow)
- Turn off power at the breaker and confirm with a non-contact voltage tester.
- Let the bulb and lens cool for ten minutes if recently used.
- Photograph the lens, clips, and wiring for reassembly reference.
Follow these removal steps
- Remove the lens by unscrewing screws or releasing spring clips. Keep hardware in a small container.
- Unscrew medium-base bulbs anticlockwise using gloves or a cloth. For bi‑pin push‑in bulbs, depress any retainer and pull straight out.
- Inspect the socket for blackening, loose tabs, or corrosion. If you see damage, stop and call a professional.
Seating the new bulb
- Match base, voltage, and fixture maximum wattage.
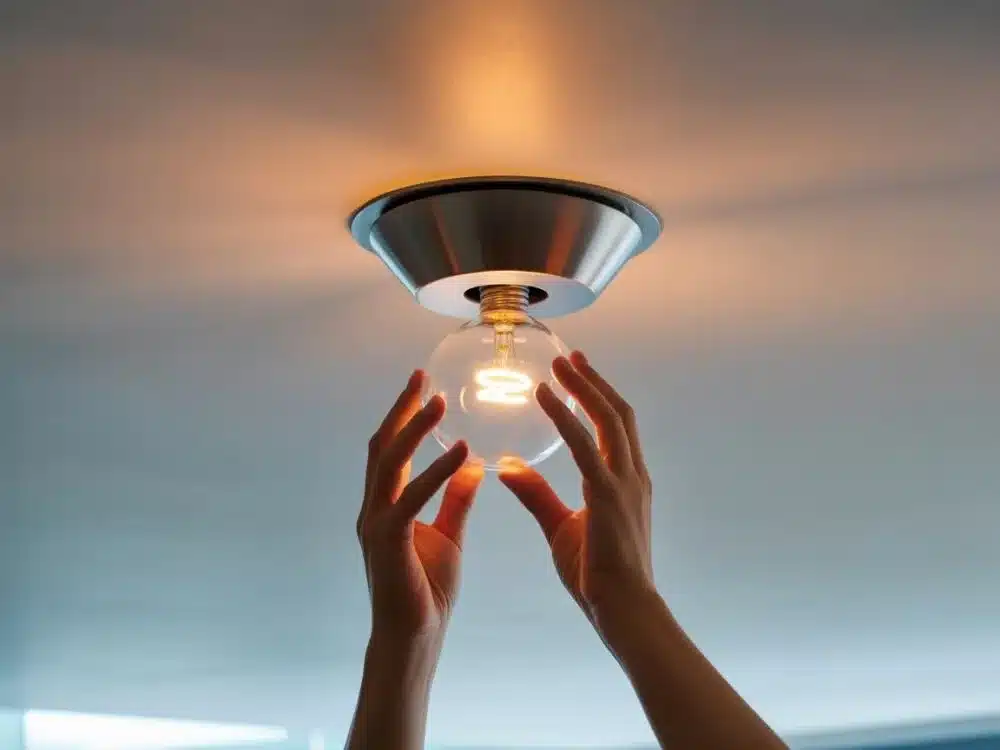
- Screw an E26 bulb until snug, do not overtighten. Push bi‑pin pins straight into the socket until they click.
- Reinstall the lens and fasteners, keeping the glass or plastic flush with the trim.
Quick step overview table
| Step | Action | Time |
|---|---|---|
| Power off | Breaker off, test | 1–2 minutes |
| Access | Remove lens or trim | 2–8 minutes |
| Replace | Install new bulb | 2–5 minutes |
| Test | Restore power and check | 1–2 minutes |
Practical example, E26 line-voltage
- If the fixture lists Max 60W and used an A19 E26, swap to an E26 LED rated for enclosed fixtures to prevent early failure.
Safety callout
- If you smell burning or see melted parts, switch the breaker off and call a licensed electrician.
Step-by-step: low-voltage bulbs and transformer checks (MR16 GU10 workflows)
If the hood uses MR16 or GU10 bulbs, check for a transformer or driver before swapping bulbs. Open the access panel to locate the transformer box.
Identify the transformer
- A label will show input and output voltages, such as 120V in, 12V out. That confirms low-voltage operation.
- Electronic transformers often list a minimum load. Magnetic transformers are heavier metal cans.
Replacing low-voltage bulbs
- Remove MR16 bulbs by pulling straight out. Do not twist. For GU10, press and twist anticlockwise.
- Test the new bulb before reinstalling the lens to confirm fit and light output.
Transformer compatibility checklist
- Magnetic transformers usually work with many LED retrofits.
- Electronic transformers may not start with low-wattage LEDs. Look for LED lamps labeled compatible with electronic transformers.
If LEDs flicker
- Try an LED labeled for electronic transformers. If flicker continues, replace the transformer with a modern LED driver. A licensed electrician should handle transformer swaps and junction box wiring.
Practical note
- Photograph the transformer's label and bulb base when ordering parts, so you match voltage and connector type exactly.
Integrated LED modules and sealed fixtures — repair options, replacement decisions
If the light source is a flat LED array or heat sink, it is likely an integrated module that is not a simple bulb swap. Manufacturer part numbers will guide replacement.
OEM module replacement
- If the maker sells a module, order the exact part number. That preserves fit and finish.
- Replacement often requires removing the housing and unplugging factory connectors.
Convert or replace
- Converting to a replaceable bulb socket and driver gives long-term serviceability, but it requires rewiring and may void the warranty. Hire a licensed electrician for conversions.
- Replacing the entire hood restores features and finishes, but costs significantly more.
Decision table
| Choice | Best for | Consideration |
|---|---|---|
| OEM module | Preserve original look | Part availability varies |
| Convert to socket | Long service life, cheap bulbs | Requires professional wiring |
| Replace hood | New features, warranty | Highest upfront cost |
Practical guidance
- Check the appliance manual for service parts before making changes. Manufacturer specs often warn against homeowner replacement.
- If you choose conversion, use UL listed drivers and components only.
Troubleshooting guide: flicker, buzzing, dimmer issues, sockets that don’t light
Start by verifying power and bulb seating, then move to the next checks. That rules out the simplest causes first.
If the bulb does not light
- Confirm the breaker, test the socket area with a non-contact tester, and reseat the bulb.
- Try a known-good bulb with the same base and voltage to isolate the lamp from the fixture.
If flicker or buzz occurs
- Flicker plus buzz points to transformer or dimmer incompatibility. Test with a non-dimmable bulb or bypass the dimmer for diagnosis.
- Replace the electronic transformer with an LED driver when compatibility fails.
If socket shows blackening
- Blackened sockets indicate overheating or arcing. Turn the breaker off and call a licensed electrician. Continued use risks fire.
Quick decision cues
- Line-voltage E26 that won’t light, but tests show power, usually means a socket problem.
- Low-voltage MR16 that won’t light, but transformer has no output, likely means transformer failure.
Tools for troubleshooting
- Non-contact voltage tester, multimeter for transformer output, and a known-good replacement bulb speed diagnosis.
Safety, disposal, and compliance
Turn off the circuit breaker first, then confirm with a tester. Always work with power confirmed off.
Safety checklist
- Wear gloves for hot bulbs and to avoid skin oils on halogen glass.
- Do not force brittle plastic clips. Use penetrating cleaner and gentle prying.
- If wiring or sockets are damaged, hire a licensed electrician.
Disposal rules
- CFLs contain mercury and must go to a household hazardous waste or recycling program, per EPA lamp disposal guidance.
- LEDs and halogens are often allowed in regular waste, though many communities prefer recycling electronics.
Code and labeling
- Follow NFPA wiring rules for appliance junction boxes and circuits. Look for UL or ETL marks on replacement lamps and drivers.
- Follow the fixture's maximum wattage sticker to avoid overheating.
After any repair, run the light for a few minutes and watch for abnormal heat or smells. If anything seems wrong, switch the breaker off and call a professional.
When to call a professional electrician or appliance technician
Call a licensed electrician when you see burned wiring, melted plastic, or exposed conductors. Those are safety issues beyond bulb replacement.
Call an appliance technician when the hood has a sealed integrated LED module or the manual lists factory-only service parts. Technicians can source OEM modules or advise on conversions. If you find corrosion or water damage inside the housing, check for leaks and get repair help to prevent electrical hazards.
If local rules require licensed work for wiring changes, hire a pro. Photos you took during inspection will speed diagnostics and estimate preparation.
Typical costs, time estimates, and parts price ranges
Simple bulb swaps take 10 to 20 minutes and cost about $5 to $20 for an LED replacement. Transformer or driver parts cost $30 to $150, plus labor if an electrician is needed.
OEM integrated module replacements typically run $30 to $200 for parts. Full hood replacement ranges from several hundred to over a thousand dollars depending on style and features. Keep spare bulbs on hand to avoid mid-repair trips and to reduce downtime.
Expert tips and mistakes to avoid
Match base and voltage exactly, because MR16 and GU10 bulbs can look similar. Wear gloves when handling halogen bulbs to avoid oil transfer. If the lens is stuck, apply a grease-cutting cleaner and let it relax before prying.
Do not force clips, because broken clips can be hard to replace.
Label a spare bulb with base and wattage and store it near the hood using compact storage suggestions. If you find blackened sockets, stop immediately and hire an electrician.
Quick decision guide — a one-page workflow to choose the right next step
- Standard screw base visible, lens removable, and socket looks normal, then swap an E26/E27 bulb.
- Bi‑pin or GU10 bulb present, transformer visible, confirm voltage before replacing the bulb.
- Flat LED board or sealed housing, check for OEM module number, then decide module replacement or professional conversion.
- Blackened socket or wiring damage, leave breaker off and call a licensed electrician.
Frequently Asked Questions
What if the new bulb fits but it still won’t turn on?
Confirm power is at the breaker and test with a non-contact tester. Try a known-good bulb of the same type. If that fails, inspect the socket for damage and call an electrician if needed.
Can I replace a low-voltage transformer myself?
Licensed electricians should replace transformers and rewire junction boxes. Local codes often require licensed work for wiring changes. For safety and compliance, hire a pro.
How do I dispose of old bulbs safely?
CFLs contain mercury and go to household hazardous waste drop-off points, per EPA guidance. Check your municipality for LED recycling programs before discarding.
Will switching to LED reduce grease buildup on the lens?
Yes. LEDs run cooler than halogen and incandescent lamps, so they bake less grease onto lenses and trims. Cooler lamps reduce discoloration and simplify cleaning.
How do I know if the transformer is electronic or magnetic?
The transformer label usually identifies the type. Magnetic transformers are heavier metal cans. Electronic types are smaller plastic modules and often list a minimum load.
Photograph the label and consult an electrician if unsure.
Where can I find basic kitchen maintenance advice while I wait?
For cleaning tips on greasy trims and cabinets, see grease removal tips for cupboards. To plan small storage for spares, check our under-counter storage ideas. For general upkeep, visit the blog hub.
