
Clogged filters are the most common cause of smelly, poorly cleaning dishwashers, and knowing how to clean Kenmore dishwasher filter screen fixes most of those problems quickly. If your dishwasher leaves food on plates, smells like old food, or runs loud, a 10 to 20 minute filter cleaning often restores normal performance.
Manufacturer specifications and owner manuals show the filter sits over the sump and can usually be removed without tools. In our research, aggregate manuals and user guidance, as of 2026, recommend monthly checks for typical family use. Read on for a simple workflow, decision branches, and the parts you might need.
Quick Answer
how to clean kenmore dishwasher filter screen, remove the lower rack first.
Rinse loose debris, scrub mesh with a soft brush under warm water.
Soak in white vinegar or citric solution for 15 to 30 minutes.
Reassemble, run a short rinse cycle, confirm drainage and noise.
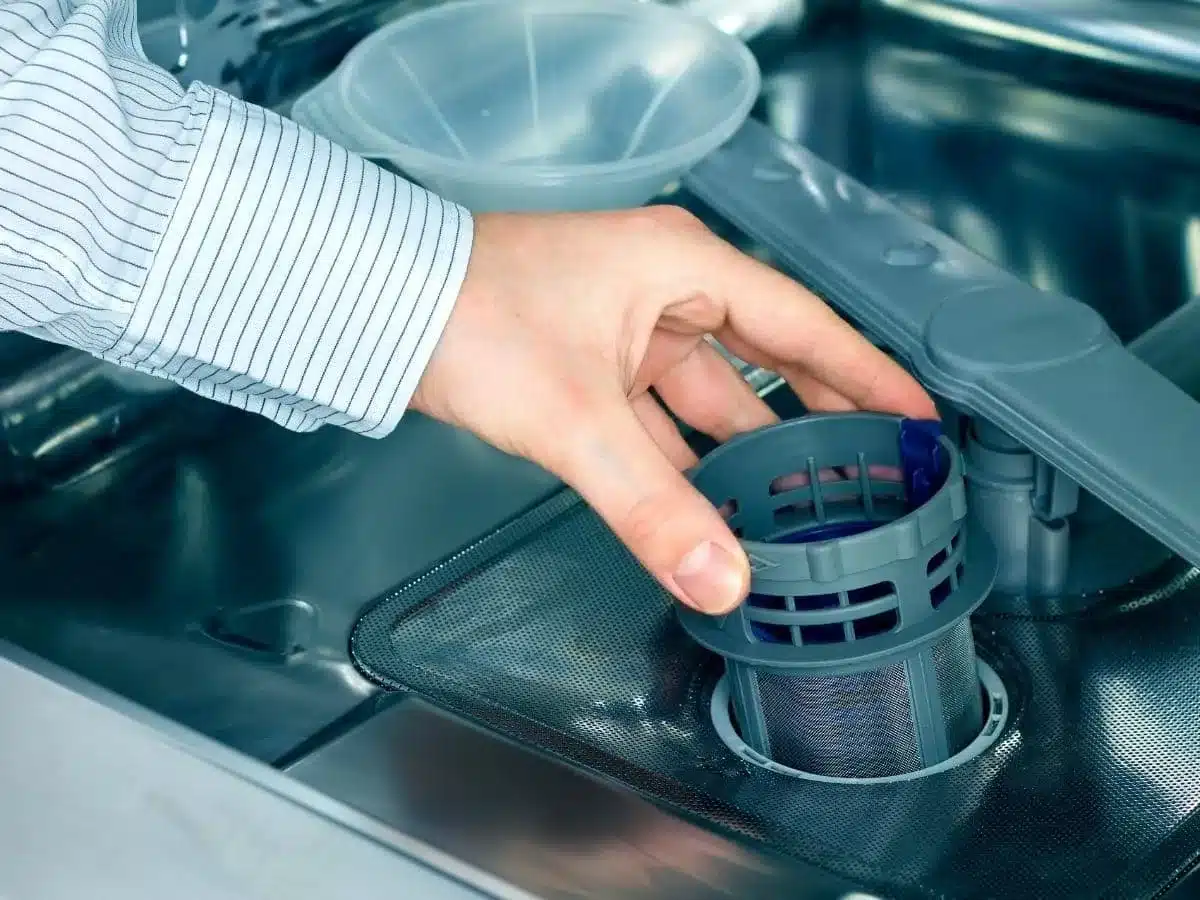
Problem: why a clogged Kenmore filter causes odors, food on dishes, and pump damage
A dishwasher filter traps food before it reaches the pump, and when it clogs, spray pressure drops. Low pressure leaves residue on dishes and causes poor cleaning. Trapped organic matter forms biofilm, which creates foul smells over a few days.
Mineral scale from hard water can cloud mesh pores and hide grease under a film. Per the United States Geological Survey, areas with higher calcium and magnesium need more frequent descaling to prevent scale buildup. If debris reaches the pump impeller, it can jam or damage the impeller and cause costly repairs.
If odors or poor cleaning persist after a filter clean, inspect spray arms, the drain hose, and the disposal knockout plug under the sink. For quick fixes to common sink clogs and related plumbing, see practical steps to fix a clogged sink.
Identify your Kenmore filter type (twist-lock cap, lift-out flat screen, cylindrical/tower)
Start by checking the model number on the inner door or frame and compare it to parts diagrams. Manufacturer parts pages list the exact filter assembly for each model, which avoids guessing when you need a replacement. For many models, Kenmore shows exploded diagrams on their site at https://www.kenmore.com.
Common styles you will see
- Twist-lock cap with inner basket, a multi-piece design. Turn the cap counterclockwise, then lift the basket out.
- Lift-out flat mesh screen, low profile, which pulls up by a small tab.
- Cylindrical tower style, a vertical mesh assembly that lifts out in two or three pieces.
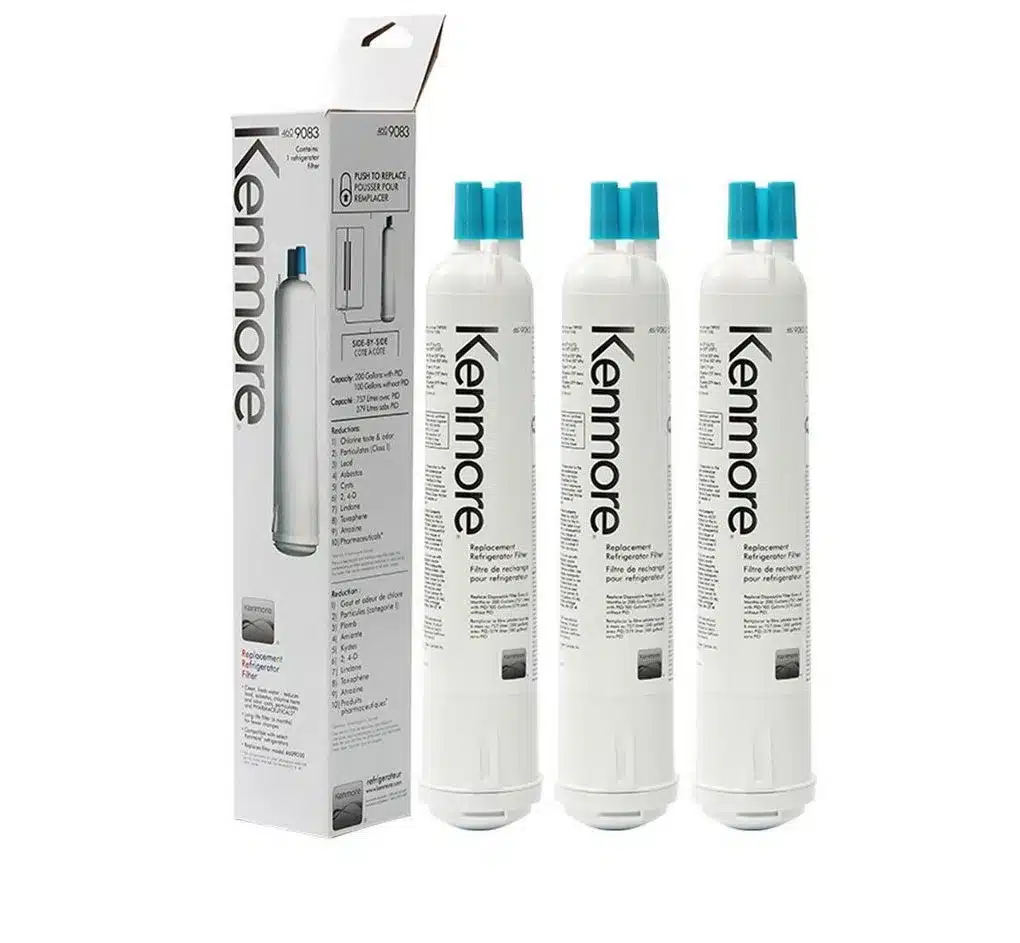
How to identify your style, step by step
- Pull out the lower rack and look at the center of the tub.
- If you see a small tab and a flat round screen, that is the lift-out style.
- If a round cap dominates the center, it is the twist-lock style.
- If a tall cylinder rises above the sump, it is the tower style.
If you can’t identify the style visually, use the model number to check the manufacturer diagram. Also see our kitchen tips for general appliance upkeep.
Tools, supplies, and replacement parts you’ll need
You do not need power tools. This is a tool-free job for most Kenmore models. Gather a few household items and a shallow container for soaking.
Tools and supplies table
| Item | Purpose | Notes |
|---|---|---|
| Soft toothbrush | Scrub mesh and crevices | Avoid wire brushes |
| Warm water and dish soap | Remove grease and food residue | Use a mild detergent |
| White vinegar or citric acid | Dissolve mineral scale | Soak 15 to 30 minutes |
| Shallow bowl or pan | Soak filter parts | Nonreactive material recommended |
| Microfiber cloth | Dry and seat gaskets | Soft, lint-free |
| Flashlight | Inspect sump and impeller | Helps spot debris |
| Gloves | Protect hands | Optional |
| Replacement filter screen | Replace torn screens | Match model number exactly |
When to replace rather than clean
- Mesh has visible tears, holes, or permanent stretching.
- Plastic frame is warped and will not seat flush.
- After deep cleaning the filter still clogs quickly.
Replacement screens typically cost about $10 to $40 depending on model and OEM versus aftermarket. Order parts using the exact model number to avoid fit problems. If persistent grease transfer affects surrounding cabinetry, checkout cupboard degreasing tips for cleaning nearby surfaces safely.
Step‑by‑step cleaning workflow (common path for most Kenmore models)
Follow this workflow and choose the branch that matches your filter type. Turn the dishwasher off at the control panel before starting.
- Prep and safety
- Turn off the dishwasher at the control panel.
- Pull out the lower rack and set it aside.
- Shine a flashlight into the sump to spot debris.
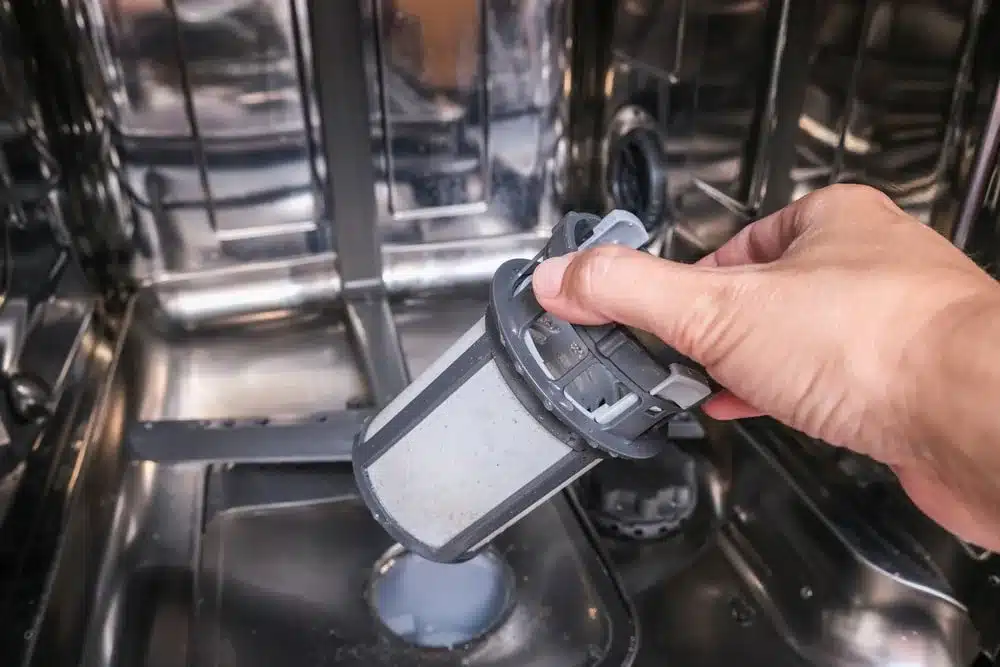
- Remove the filter assembly
- Twist-lock cap, turn counterclockwise and lift the cap and inner basket out.
- Lift-out flat screen, grasp the tab and lift straight up.
- Cylindrical filter, remove top, then lift mesh and coarse basket.
- Dump and rinse debris
- Empty large solids into the trash, not the sink.
- Rinse filter parts under warm running water and gently scrub the mesh with a soft toothbrush.
- Soak and deep clean
- For grease, wash parts in warm, soapy water first.
- For mineral scale, soak 15 to 30 minutes in a 1 to 1 vinegar and water mix, or use a citric acid solution for faster results.
- Rinse thoroughly after soaking.
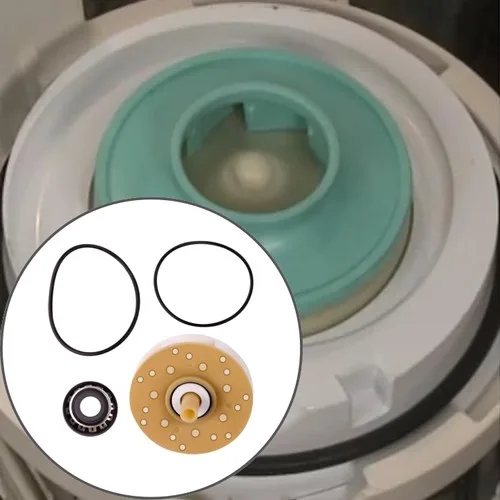
- Inspect the sump and impeller
- Look into the sump and remove visible debris with gloved fingers or long tweezers.
- Do not pry at the impeller with metal tools. If the impeller is damaged or stuck, stop and call a technician.
- Reassemble and test
- Reinstall parts in the correct order and align any tabs or slots.
- Twist caps clockwise until they click, or press flat screens until flush.
- Run a short rinse cycle empty, and listen for unusual noise or drainage issues.
If the drain hose or disposal under the sink looks clogged, inspect those connections next and follow a step guide for fixing a clogged sink.
Decision branches — what to do when you find specific problems
If the screen is torn or punctured
- Replace the screen immediately to prevent debris entering the pump.
- Use the model number to order the correct part.
If heavy grease or sticky biofilm remains
- Soak in warm, soapy water and scrub with a soft brush. Follow with a vinegar or citric soak.
- Clean the filter housing and wipe the door gasket with a mild degreaser safe for plastics.
If mineral scale returns often
- Increase descale frequency to once a month in hard-water areas. Use citric acid for better results than plain vinegar.
- Contact your water utility or check USGS water resources for local hardness data.
If the dishwasher won’t drain after cleaning
- Check for a kinked or clogged drain hose and confirm the disposal knockout plug is open.
- If hoses are clear and the pump hums or grinds, call a qualified appliance technician.
If dishes still have stuck food
- Remove and clean both spray arms. Clear holes with a soft brush or toothpick.
- Confirm inlet water pressure and clean the water inlet screen if accessible.
Inspecting the sump, impeller, and spray arms — safe checks and limits
Look into the sump with a flashlight, and note any debris before reaching in. Remove trapped rice, coffee grounds, or packaging with gloved fingers or long tweezers. Do not use metal tools on plastic parts, because you can break the impeller or housing.
Turn the impeller by hand gently if accessible. If it spins freely after debris removal, that is good. If it feels stuck or produces grinding noises during a test run, stop and call a technician to avoid pump damage.
Remove spray arms when the model allows it. Rinse under warm water and clear holes with a soft brush or a wooden toothpick. Replace cracked or warped spray arms, because poor spray patterns cause recurring cleaning problems.
Replacement filters and parts — how to find the exact Kenmore part number and cost range
Record the model number on the door edge or frame before ordering parts. Manufacturer diagrams map that number to the exact filter screen, coarse basket, and caps. Buying the precise OEM part avoids fit and sealing problems.
Replacement cost quick table
| Part | Price range |
|---|---|
| Fine mesh screen | $10 to $30 |
| Coarse basket | $10 to $25 |
| Twist-lock cap | $5 to $15 |
Buy from the official parts page or authorized dealers when possible. If the OEM part is discontinued, confirm dimensions and alignment against the exploded view before using an aftermarket part. If under-sink plumbing has been recently worked on, verify hose connections and knockout plugs after replacing filter parts.
Maintenance cadence and prevention (monthly, after heavy use, seasonal checks)
Monthly for a typical family, remove and rinse the filter and wipe the gasket. Light-use homes can extend to two or three months. After holidays or large meals, check the filter right away because rice and eggshells clog fastest.
Run an empty hot rinse with one cup of white vinegar monthly, or use a citric acid cleaner in very hard-water areas. Per USGS water hardness information, adjust descale frequency to local water conditions. Pair filter cleaning with an inspection of spray arms and the water inlet screen twice a year.
Keep the area under the sink organized so hoses and the disposal are accessible. For storage ideas that keep plumbing visible, review under-sink storage ideas.
Mistakes to avoid (what damages filters or makes problems worse)
Do not use wire brushes, steel wool, or abrasive pads on mesh screens. Those tools tear the mesh and shorten part life. Avoid harsh chemicals like oven cleaner or concentrated drain solutions on plastic parts, because they damage seals and plastic.
Do not force a filter into place if it resists seating. Misalignment causes noise and poor drainage. If a filter will not seat, inspect for warped plastic, trapped debris, or broken tabs and replace the part if necessary.
Do not dump solids down the sink when you clean the filter. Put coffee grounds and shells in the trash. Those solids can re-clog the disposal or drain hose and undo your work.
Safety warnings and manufacturer guidance (power, chemicals, and service triggers)
Always turn the dishwasher off at the control panel before working inside. Manufacturer guidance advises against operating the machine with filter parts removed, because exposed moving parts can be damaged. If the machine has a control lock or child lock, engage it to prevent accidental starts.
Wear gloves if you have cuts or sensitive skin, because food residue harbors bacteria. Use only mild detergents, white vinegar, or citric acid for soaking. Do not mix cleaners together, because mixing chemicals can create harmful fumes.
Call a qualified appliance technician when you suspect pump or motor damage, the impeller is broken, or electrical faults appear. Continued use with a damaged pump risks further damage and higher repair costs. For mold issues linked to leaks, consult our mold prevention guide.
Troubleshooting decision guide (symptom, likely cause, what to do)
Symptom: persistent odor after cleaning, likely cause, food in sump or door gasket. What to do, remove sump debris, wipe gaskets, run a hot rinse with one cup white vinegar, then recheck drainage.
Symptom: dishwasher will not drain, likely cause, clogged drain hose or blocked disposal knockout plug. What to do, inspect and straighten the hose, clear disposal, then test. If pump humming or grinding persists, call a technician.
Symptom: food still on dishes, likely cause, clogged spray arms or low water pressure. What to do, remove and clean spray arms, clear holes, and confirm inlet water pressure and screen condition.
Symptom: filter clogs repeatedly, likely cause, damaged screen or heavy scale. What to do, replace torn screen, use citric acid soaks monthly in hard-water areas, and consider a point-of-use softener if scaling is severe.
Expert tips, quick hacks, and when to call a pro
Use a soft toothbrush to clean mesh, it reaches crevices without tearing the screen. For heavy grease, wash parts in warm, soapy water first, then use a vinegar or citric acid soak. For stubborn kitchen grease on nearby cabinets, review cupboard degreasing tips to avoid contaminating filter parts.
If scale returns quickly, switch to a citric acid soak for faster results than vinegar. Keep a small bottle of citric powder on hand for monthly maintenance in hard-water regions. Call a qualified technician if the impeller is damaged, the pump produces grinding noises, or drainage problems persist after clearing hoses.
Quick maintenance checklist (pin this)
- Monthly, remove and rinse the filter and wipe the gasket.
- After heavy cooking, clear large solids from the sump immediately.
- Monthly, run an empty hot cycle with one cup white vinegar or a citric cleaner in hard water.
- Twice a year, remove spray arms and inspect the inlet screen.
- Keep under-sink access clear, try under-sink storage ideas to avoid blocking hoses.
Frequently Asked Questions
How often should I clean the filter on a typical Kenmore dishwasher?
For a typical family, clean the filter once per month to prevent buildup and odors. Light-use households can extend cleaning to every two or three months. After holiday meals or heavy loads with rice or eggshells, check and clean the filter immediately to avoid clogs and drainage problems.
Can I use vinegar every time to clean mineral scale?
Vinegar is effective for light scale, but citric acid works faster on heavier deposits. Soak parts 15 to 30 minutes in a 1 to 1 vinegar and water mix, or dissolve citric acid per package directions for a shorter soak. Rinse thoroughly and avoid harsh chemical cleaners on plastic parts.
What if the filter sits loose or will not seat properly?
If the filter will not seat, check for warped plastic, trapped debris, or broken alignment tabs. Do not force the part into place, because misalignment causes noise and poor drainage. If damage is visible, order the exact replacement by model number to ensure a proper fit.
Will running the dishwasher with the filter out cause damage?
Do not run the dishwasher with the filter removed. Manufacturer guidance warns against operating with exposed moving parts, because debris can enter the pump and cause damage. Always reseat the filter before starting any cycle to protect the pump and motor.
Final recommendation and decision guide
For routine upkeep, clean the filter monthly and descaling more often in hard-water areas. Replace torn screens immediately using your exact model number. If you encounter impeller damage, persistent drainage failure, or pump noises after you have cleared hoses and the disposal, stop using the machine and call a qualified appliance technician.
For general appliance upkeep and other kitchen maintenance tips, explore our kitchen tips. For sink and plumbing problems related to drainage, review fixes for a clogged sink before attempting more invasive repairs.

1 thought on “How to Clean Your Kenmore Dishwasher Filter Screen”